Renewing the White Waterproofing on a Roof with Vent Pipes
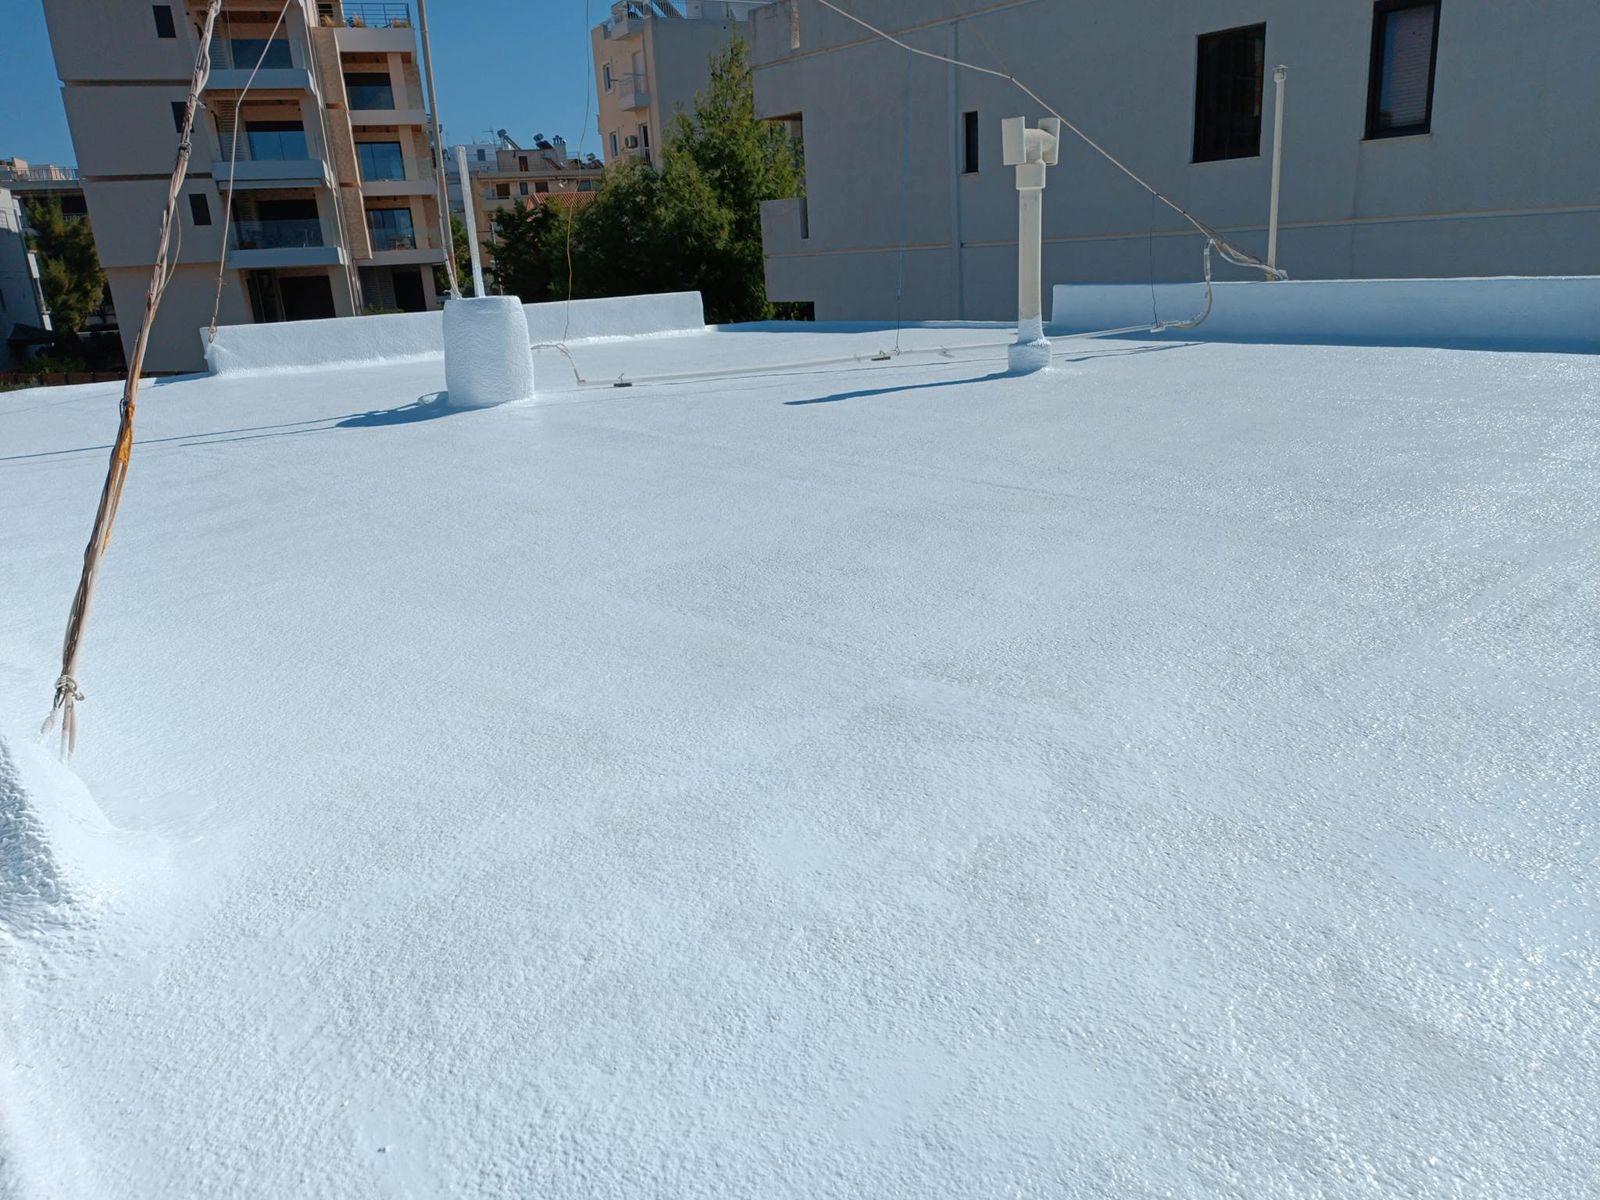
A roof's old white coating had gone dirty and worn. It was washed and covered with a fresh white waterproofing, with extra care around the vent pipes and along the low walls.
Step by step
1. The worn coating
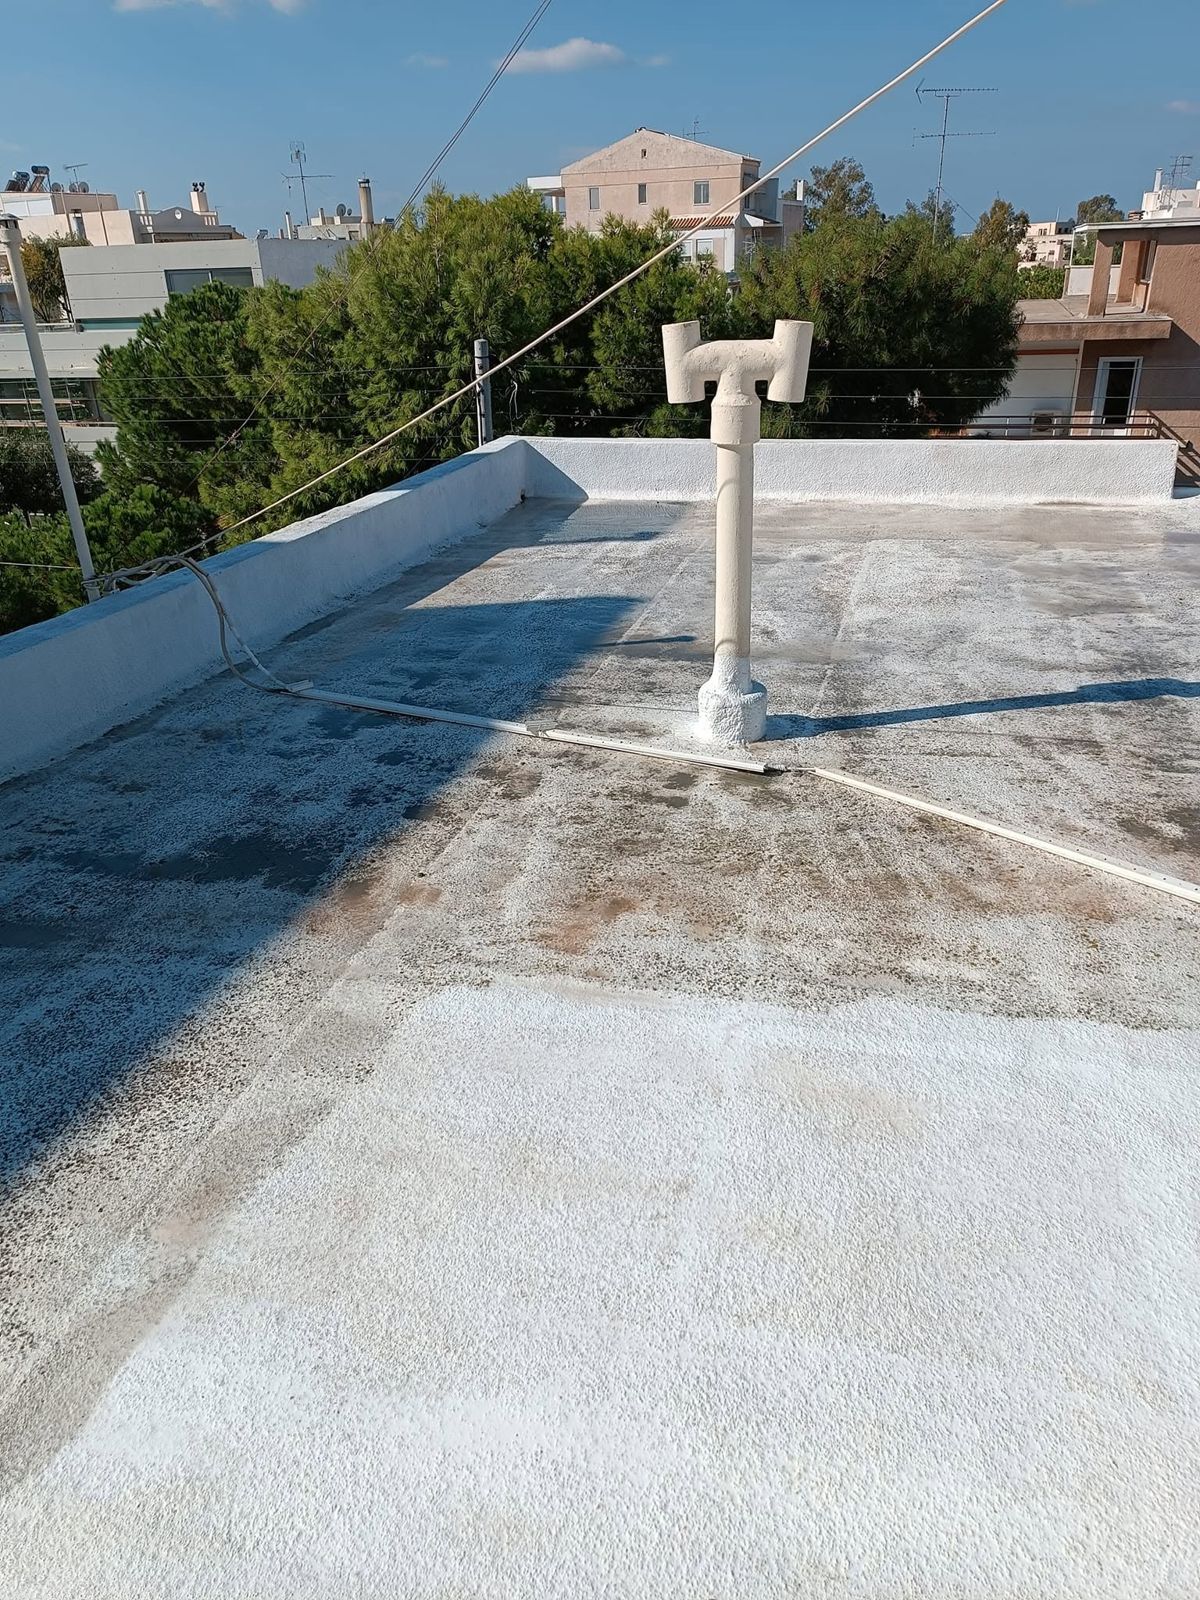
The old white coating had turned grey and worn through in many places, especially where water used to sit.
2. Washing and a first coat
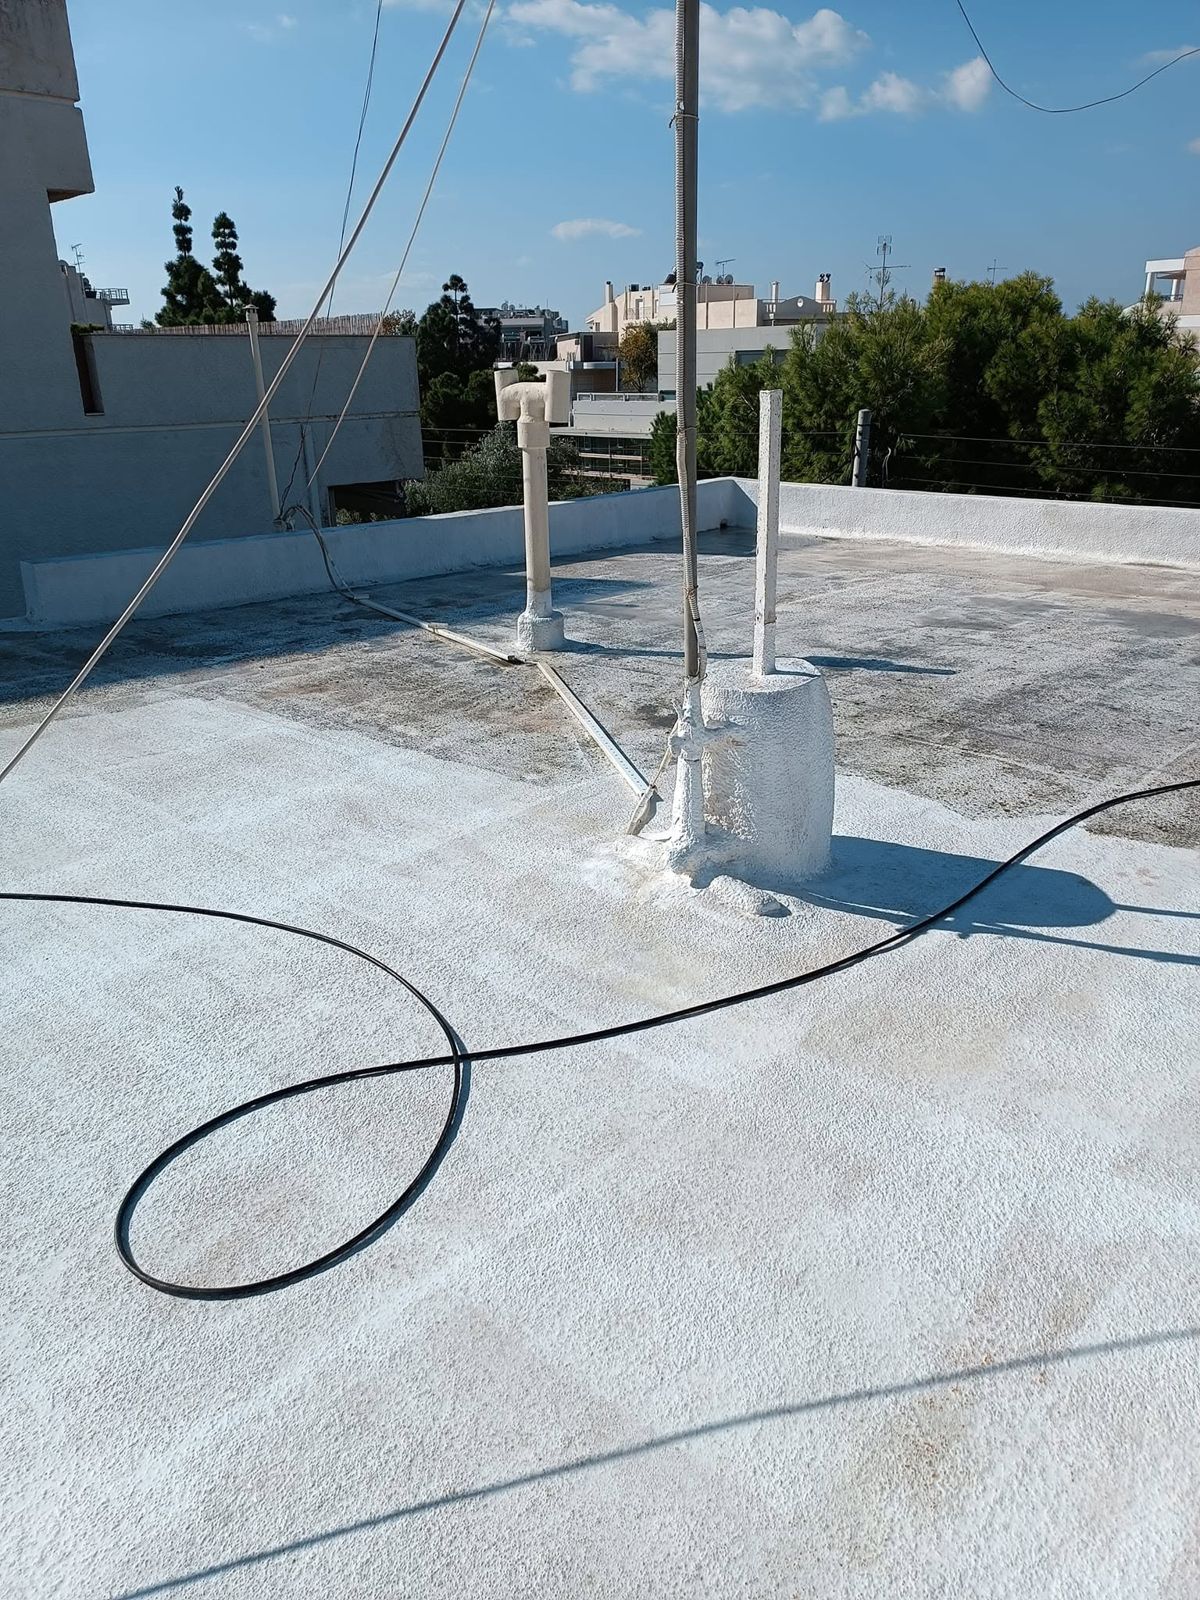
The surface is washed to get rid of dust and dirt. The bases of the vent pipes and posts are coated first, because joints open up easily there.
3. New waterproofing
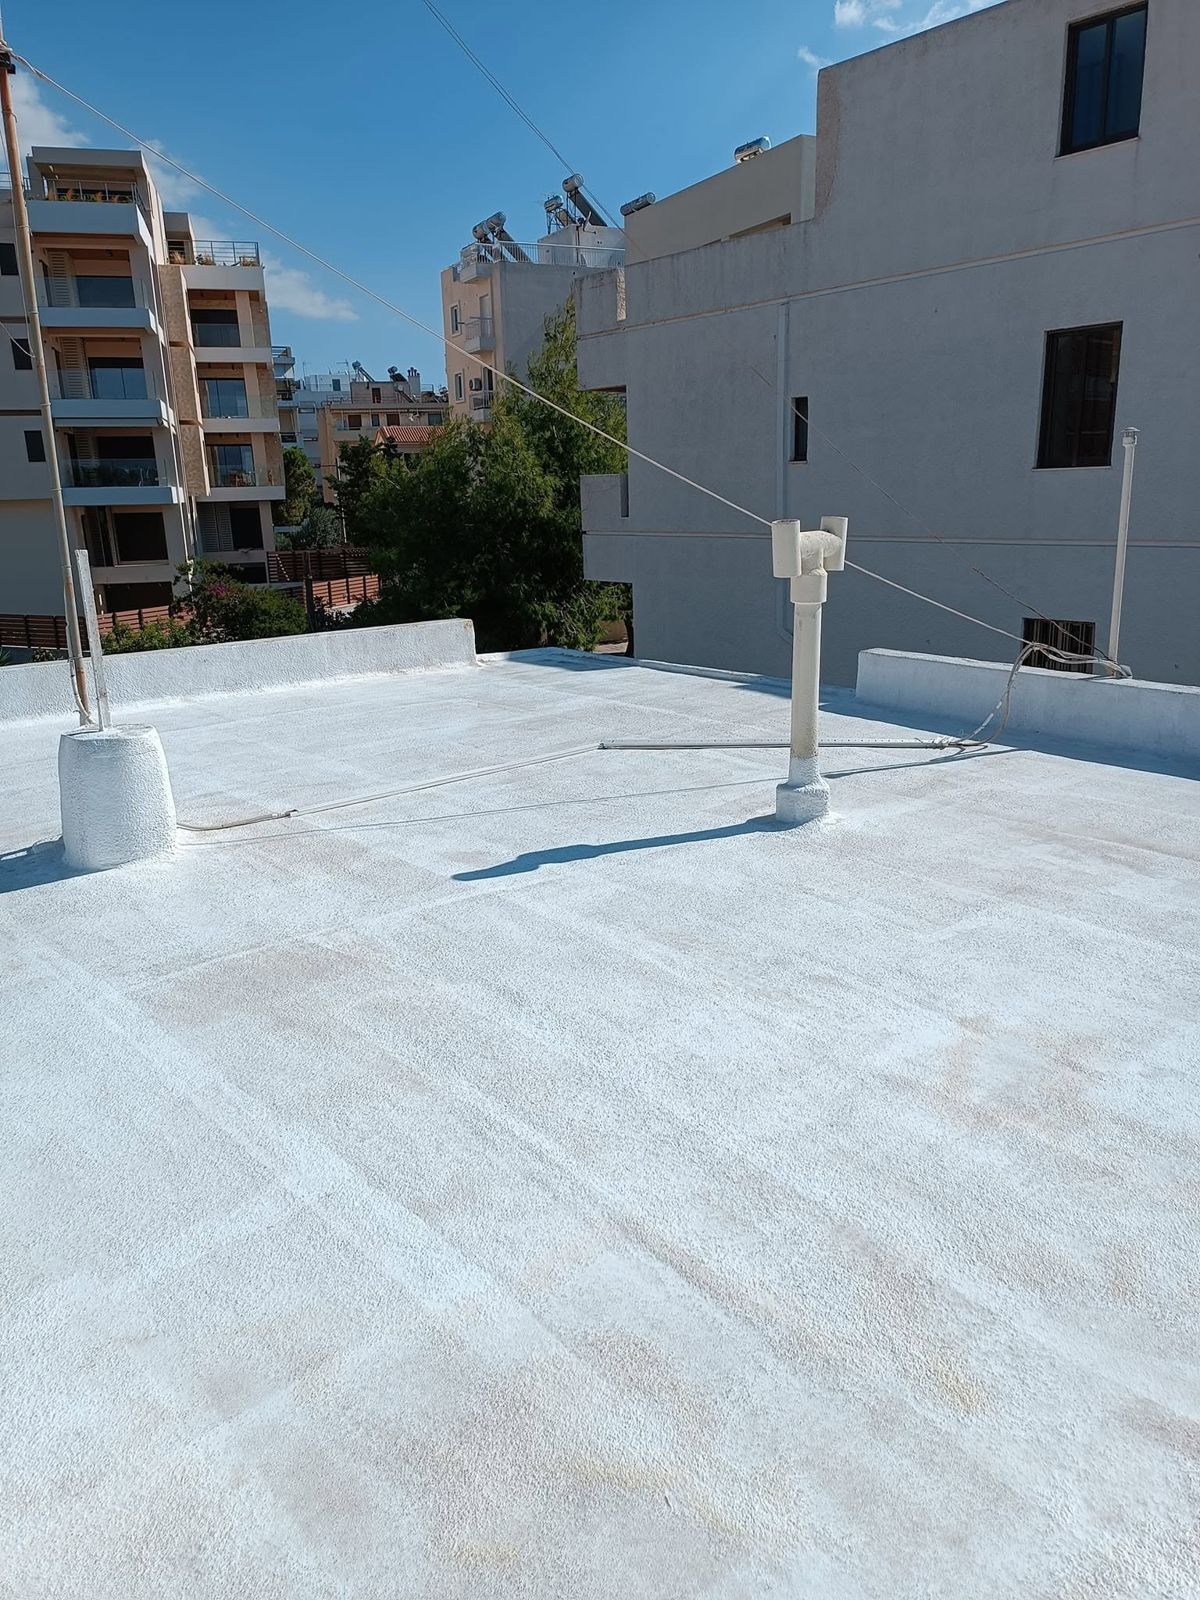
The white waterproofing is spread over the whole surface and wraps around every pipe coming out of the roof.
4. Second coat
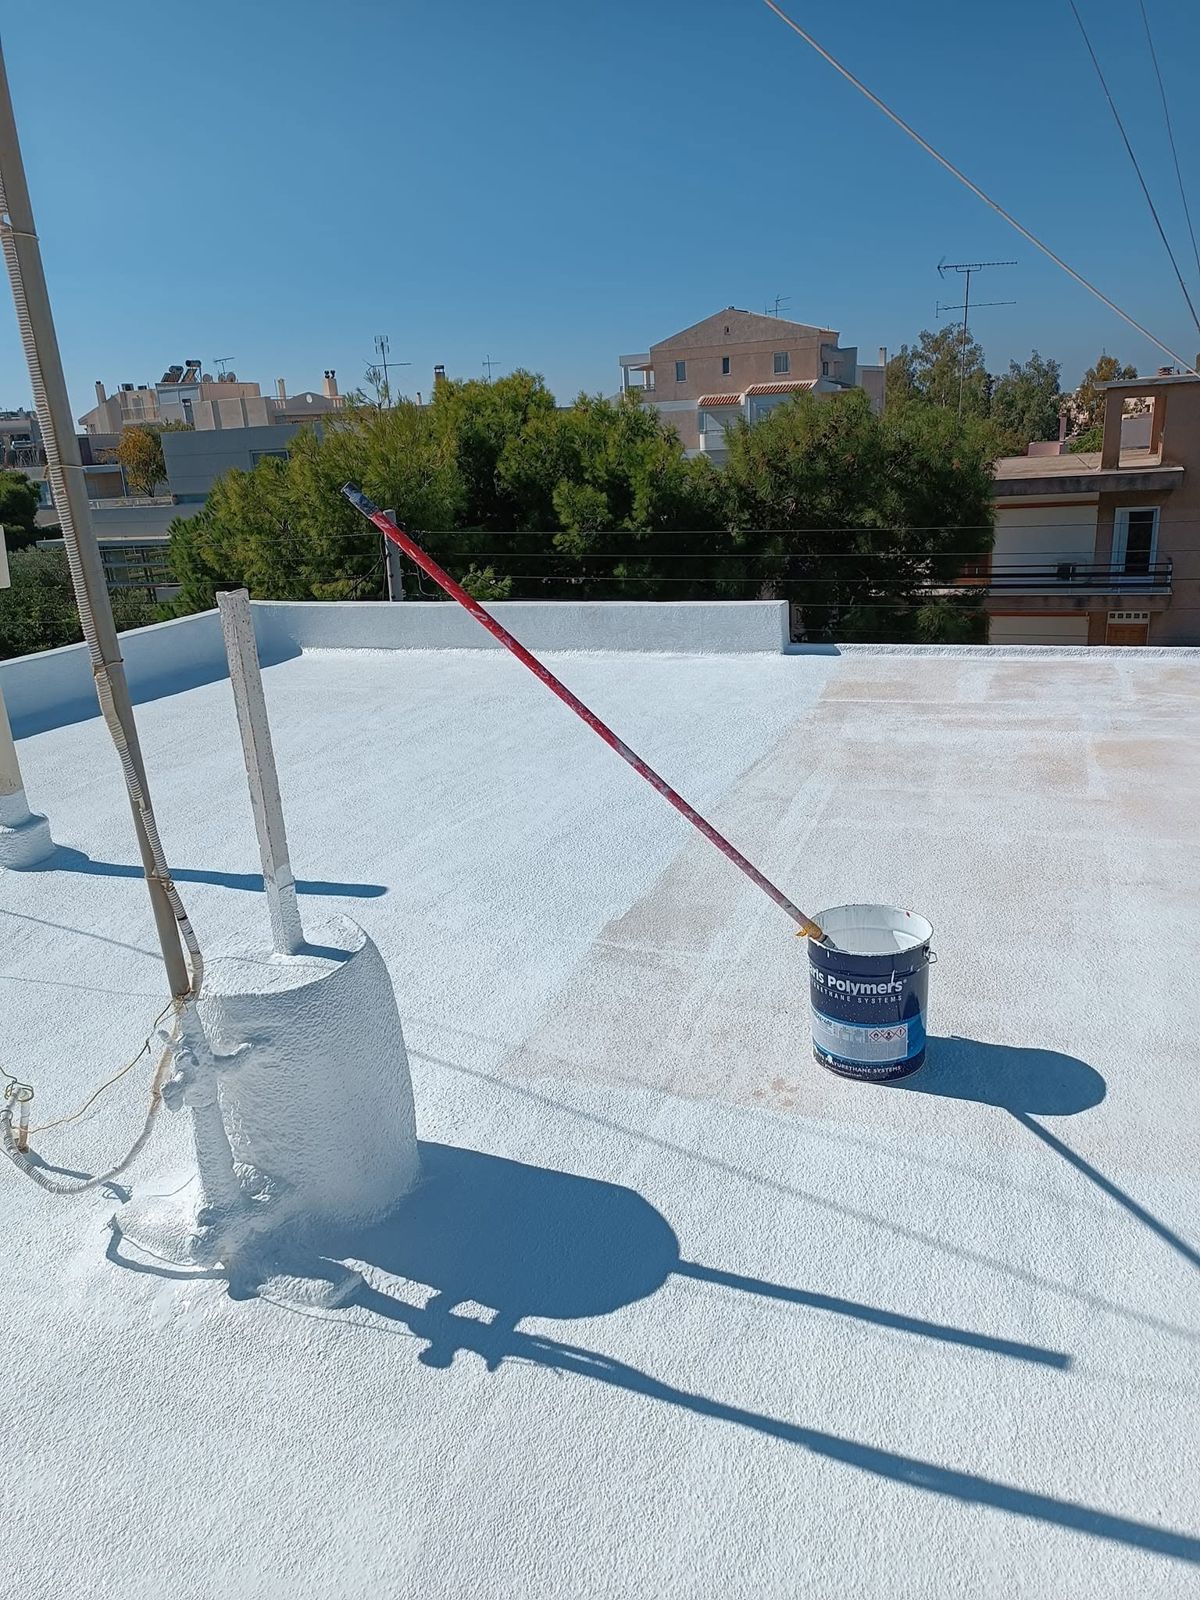
The second coat builds up the final thickness and covers the spots that still looked worn.
5. The low walls
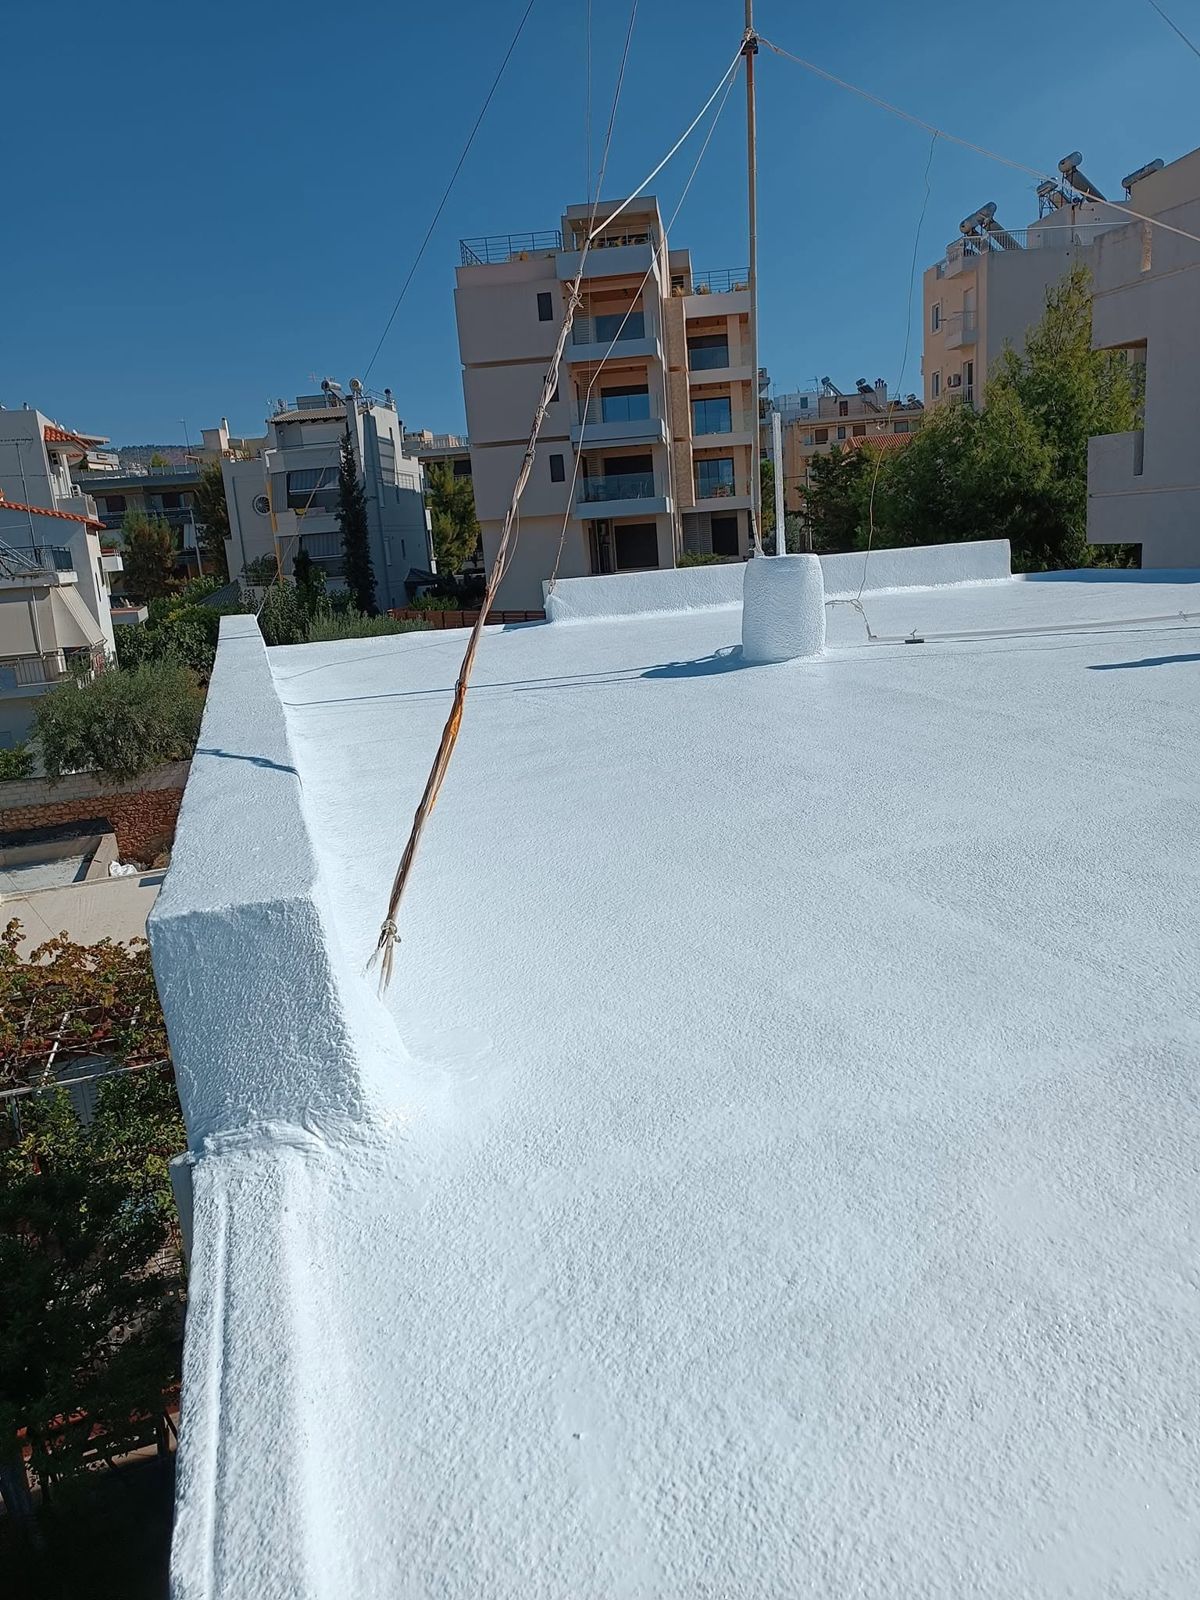
The waterproofing goes up the low walls and over their tops, so water can't get in at the edges.
6. The result
A clean white surface that keeps the rain out and reflects the sun, so the space below heats up less.