Waterproofing a Roof Channel and Upstands
A waterproofing layer, finished with a white coating, went into the channel that collects the water, around the outlets and over the low walls of the roof.
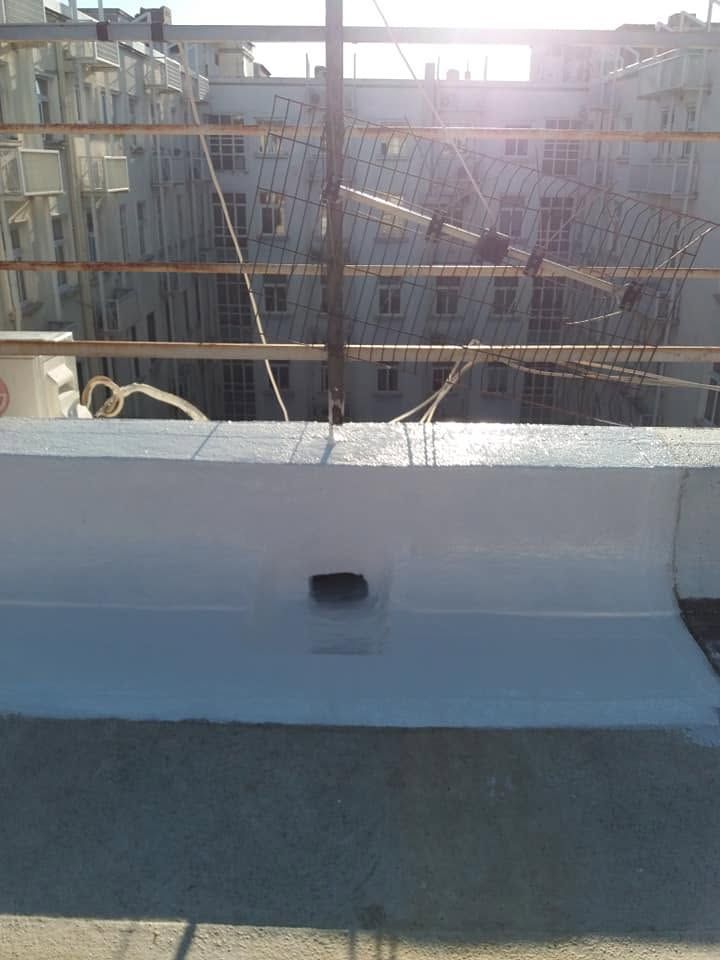
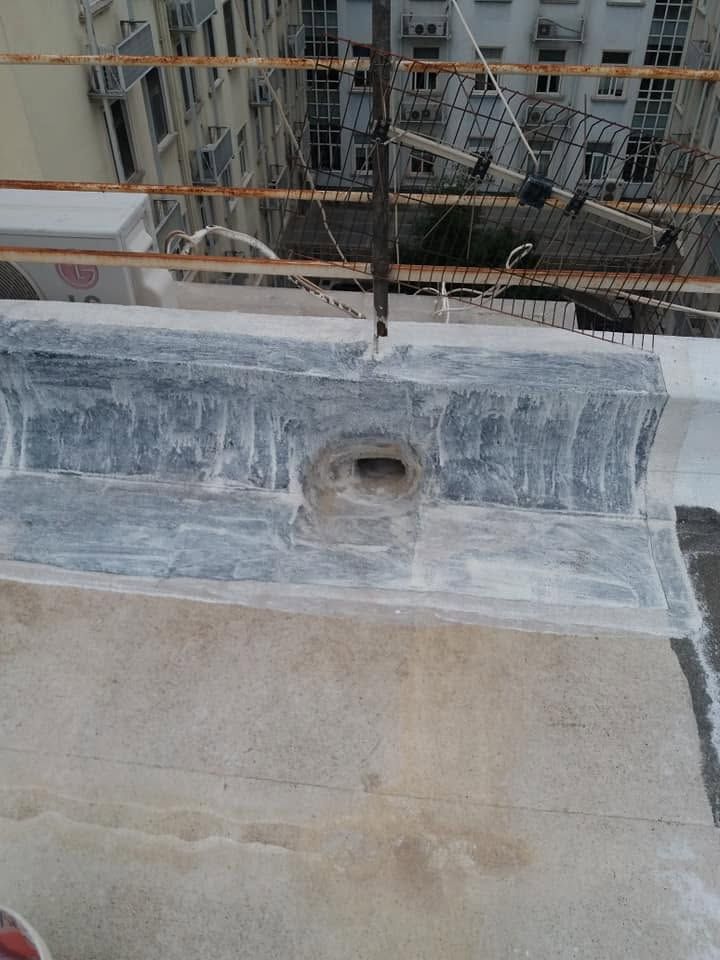
Drag to compare
Step by step
1. The narrow ledge
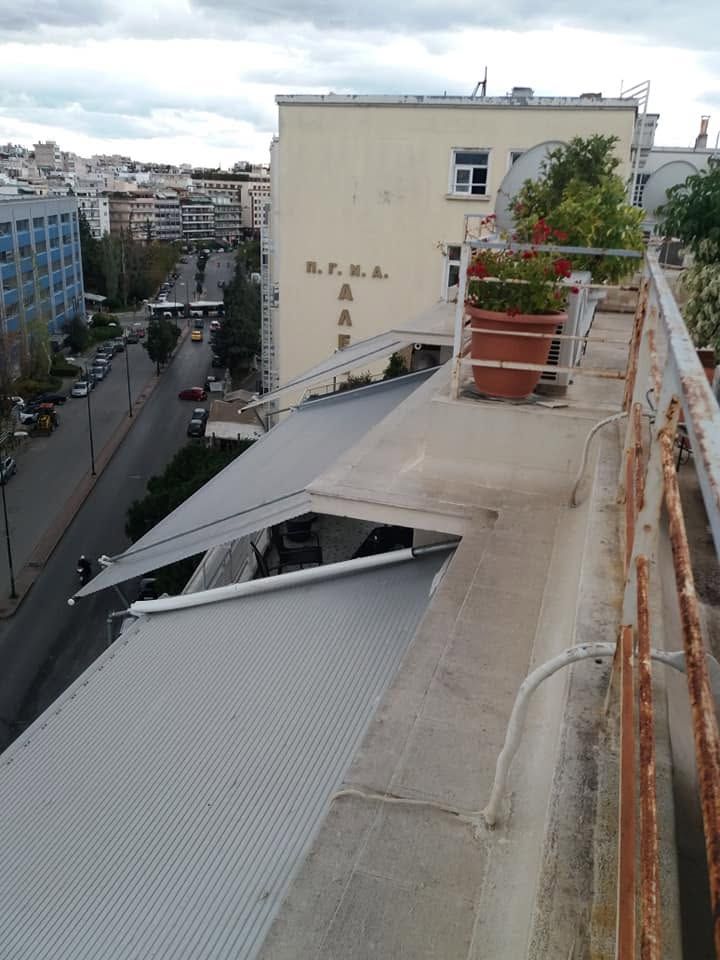
Along the railings, a narrow strip of roof with old, worn concrete.
2. The water channel
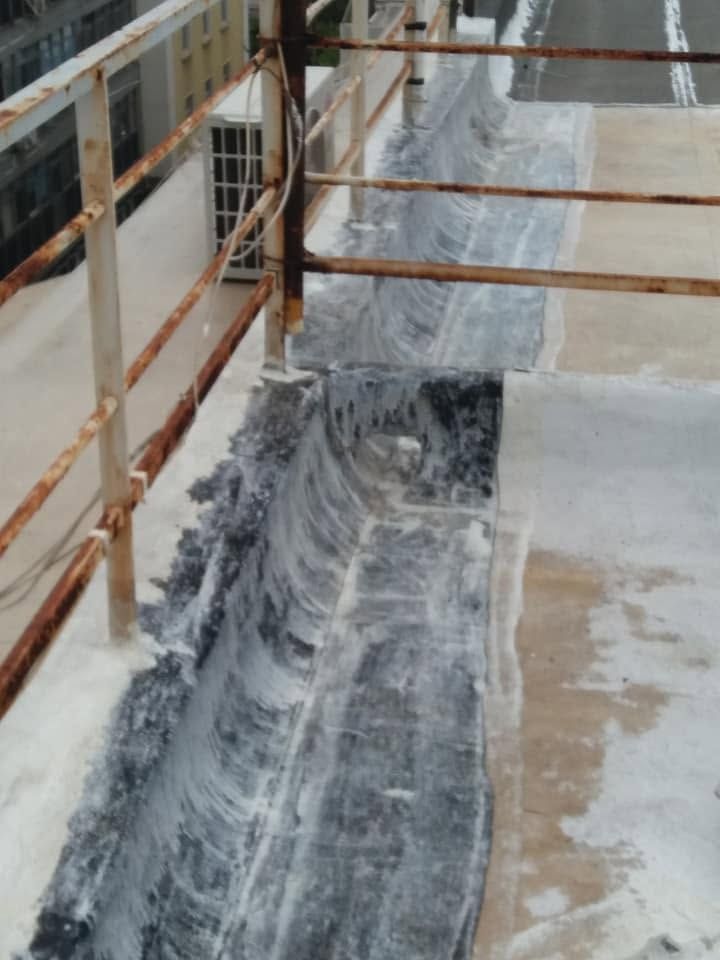
A grey waterproofing layer goes into the channel that collects the water first, filling the cracks.
3. All the way along
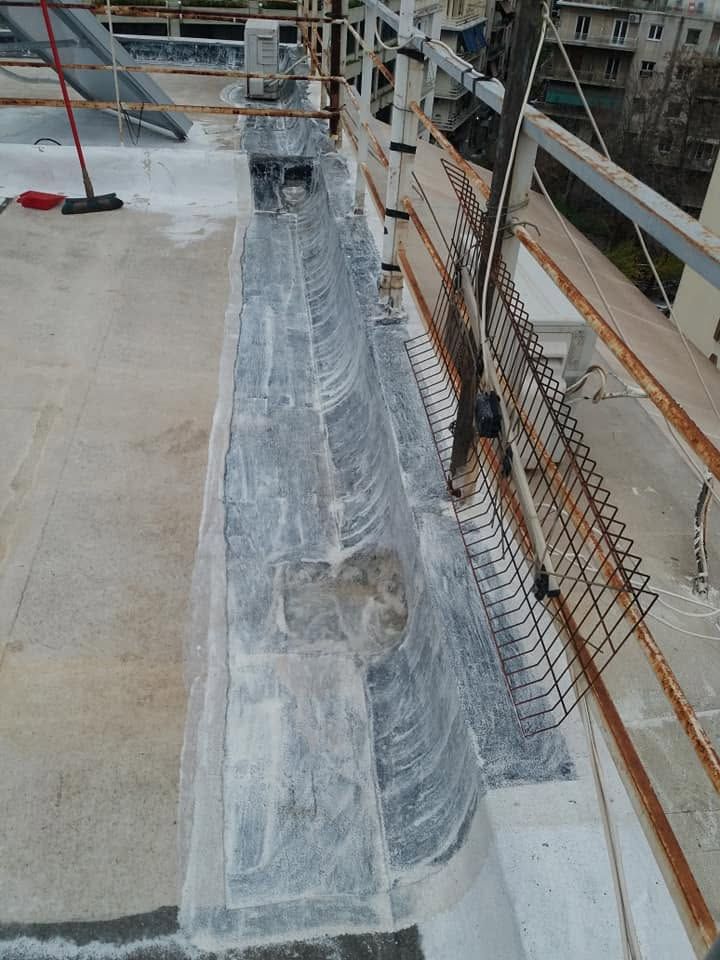
The layer runs the whole length of the channel, right up to the outlet.
4. The outlet
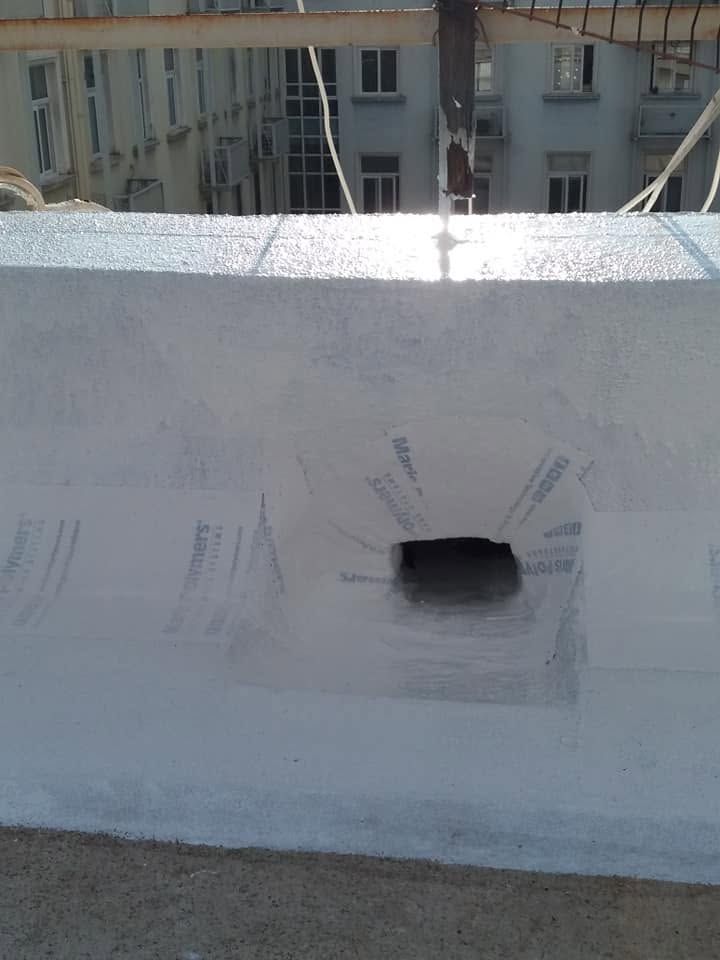
Around the outlet the material is carried into the opening, so water drains away without finding a joint.
5. A white finish
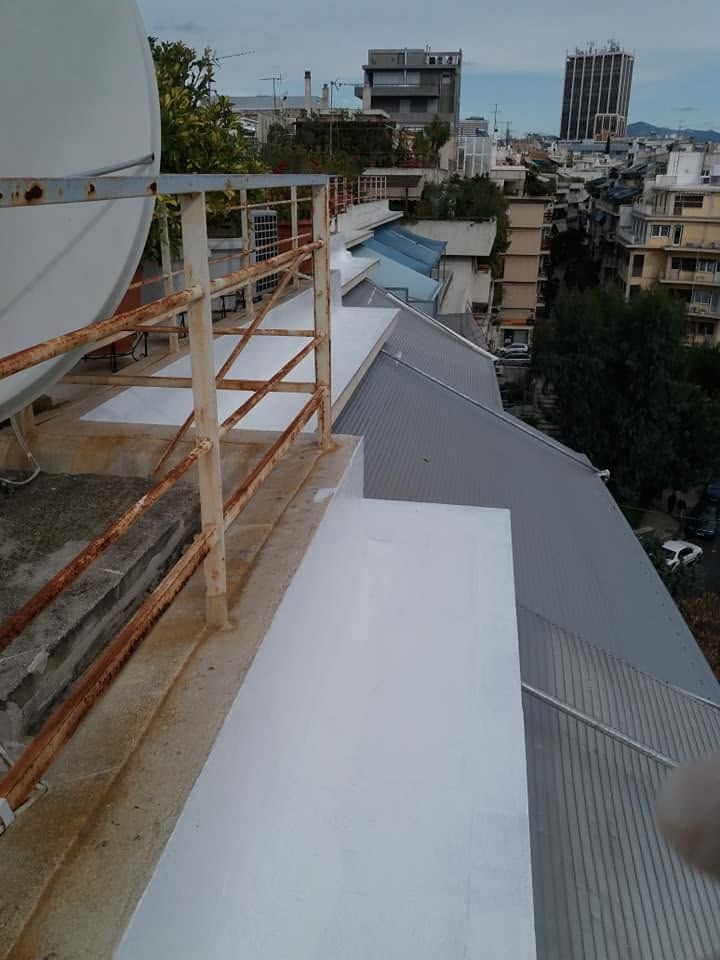
A white coating goes on top, reflecting the sun and protecting the layer underneath.
6. Around the railings
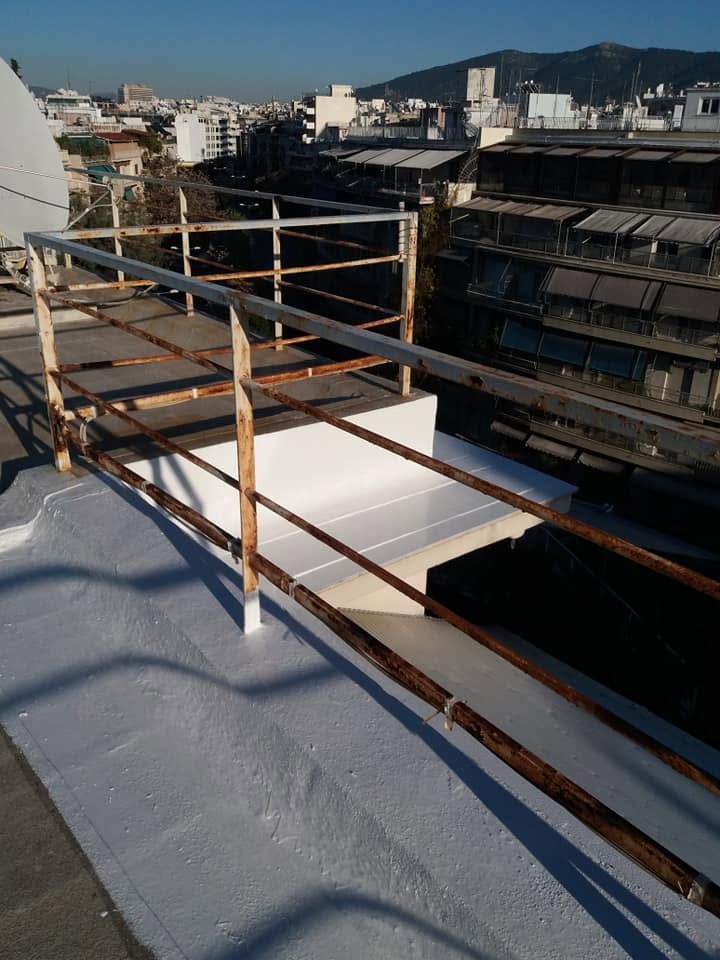
The feet of the railings are covered carefully, because every fixing point is a possible leak.
7. The low walls
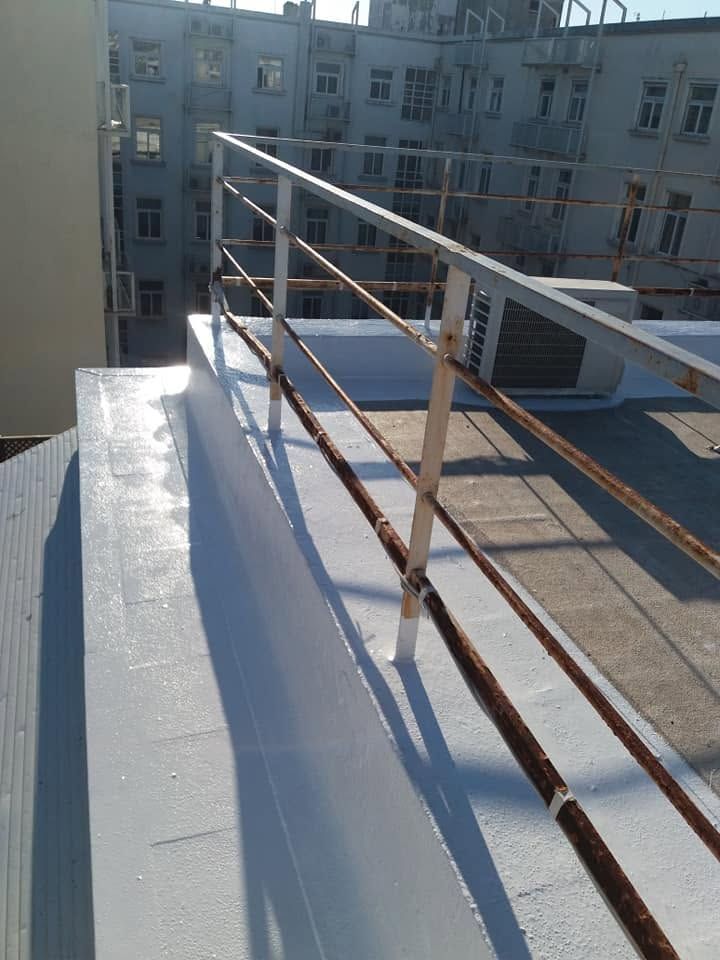
The coating runs up the low walls and over their tops too.
8. The result
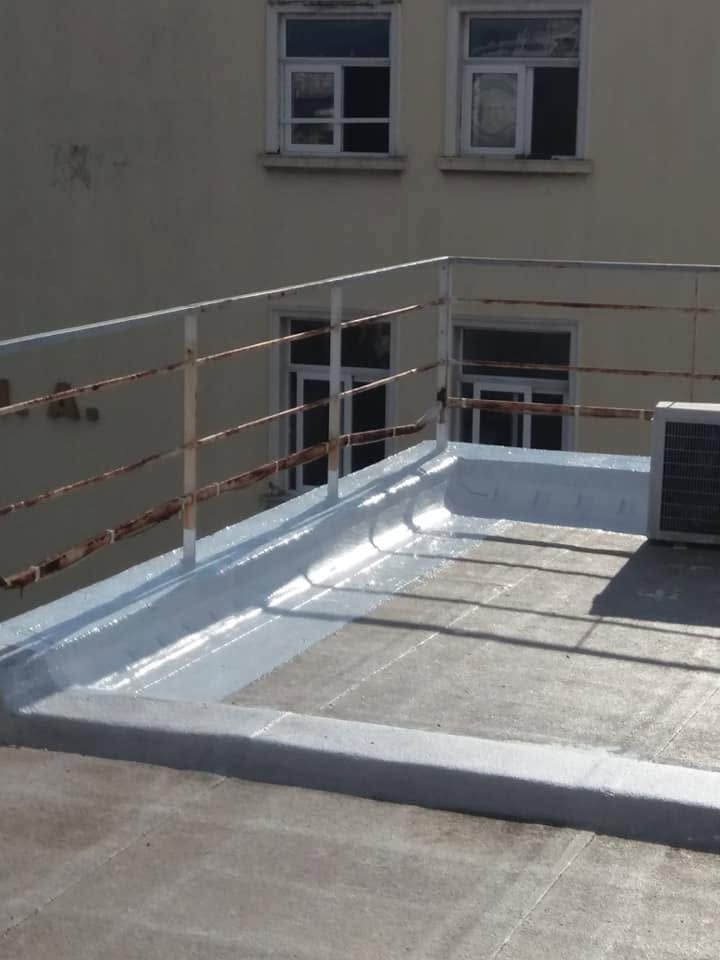
Channels, low walls and outlets all covered, with no open joints.