Waterproofing a Roof Under Solar Water Heaters
A dirty, uneven roof crowded with solar heater frames was cleaned, patched and levelled, then coated with waterproofing, right under the air conditioning unit.
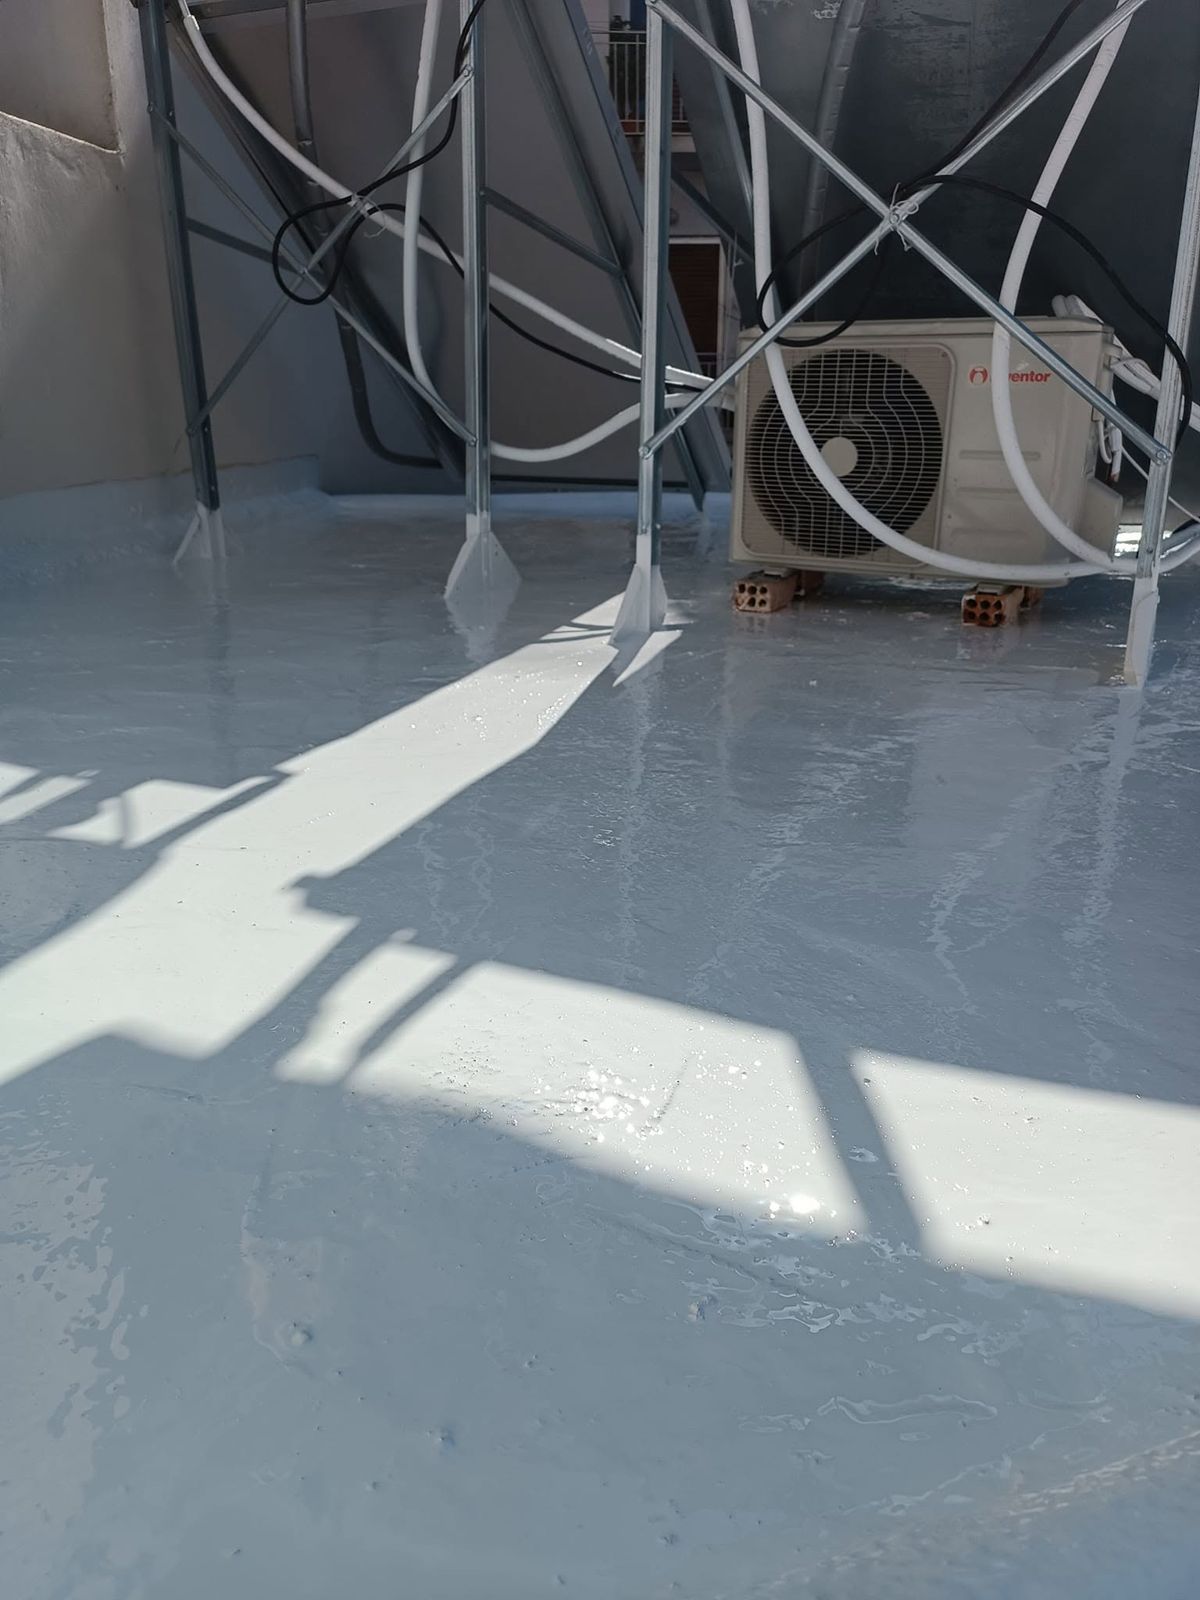
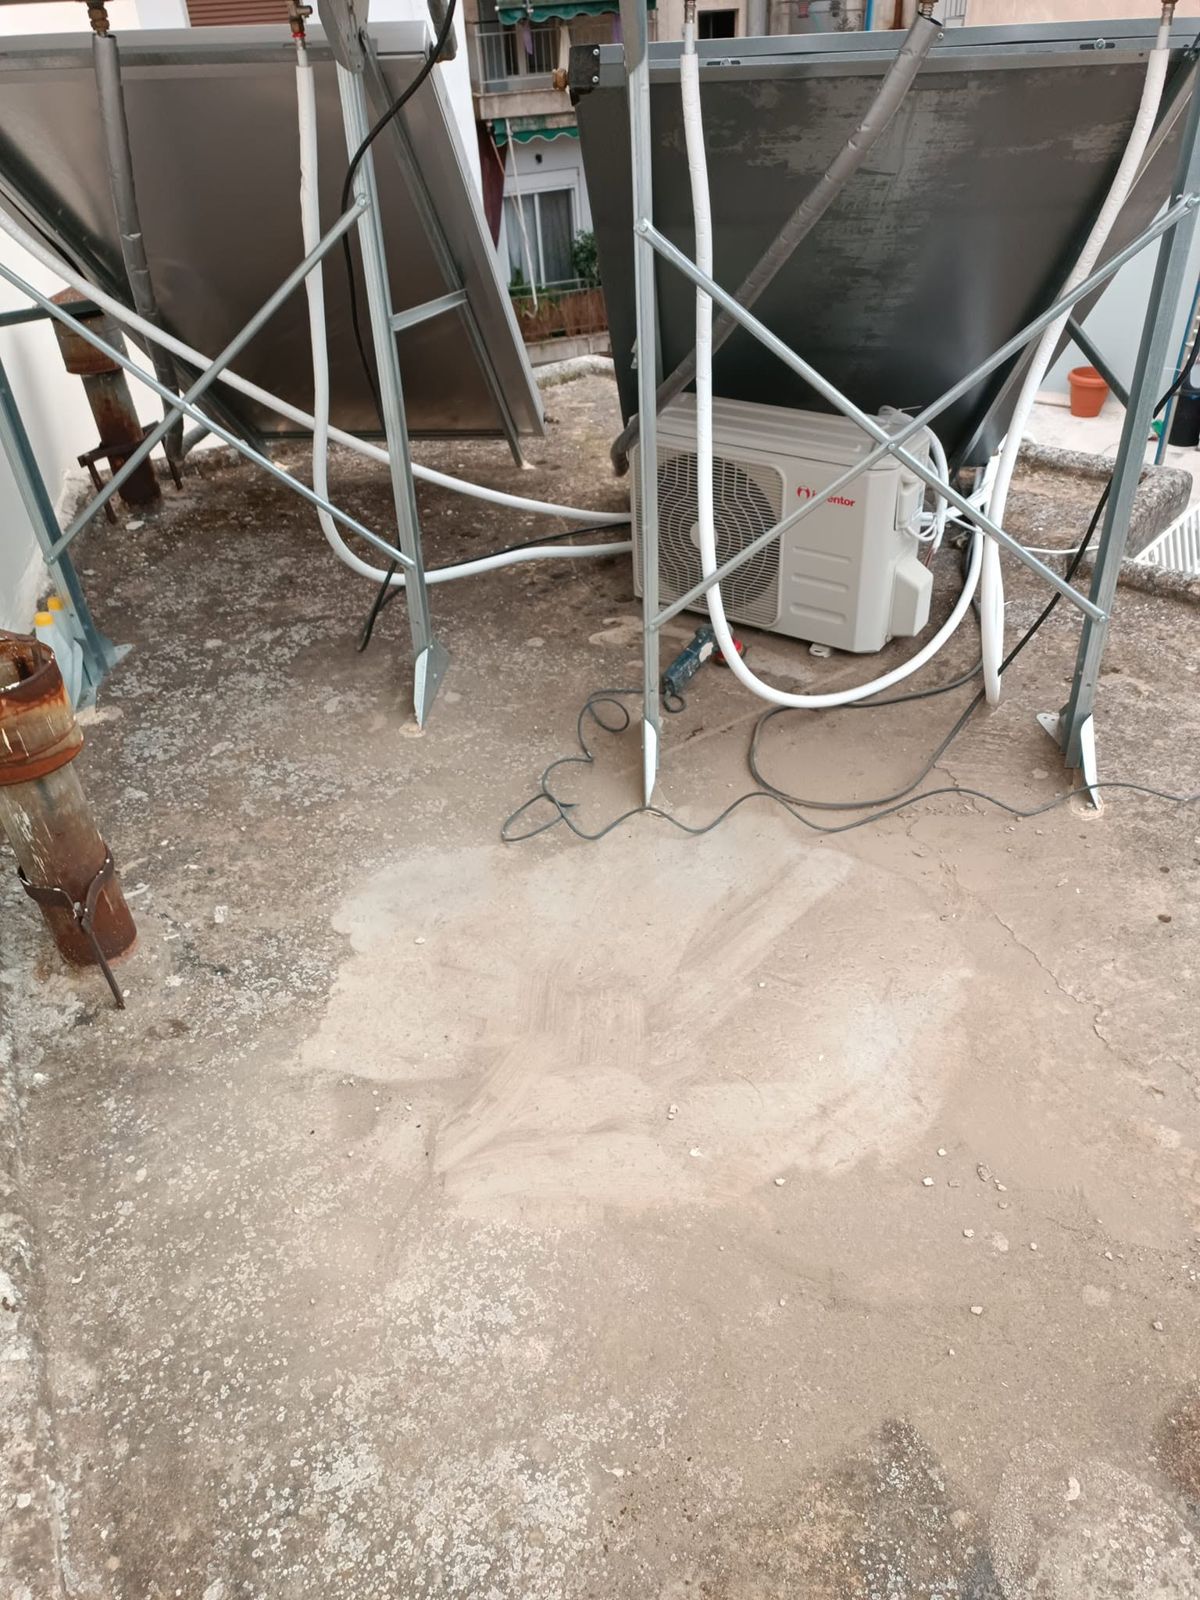
Drag to compare
Step by step
1. Where we started
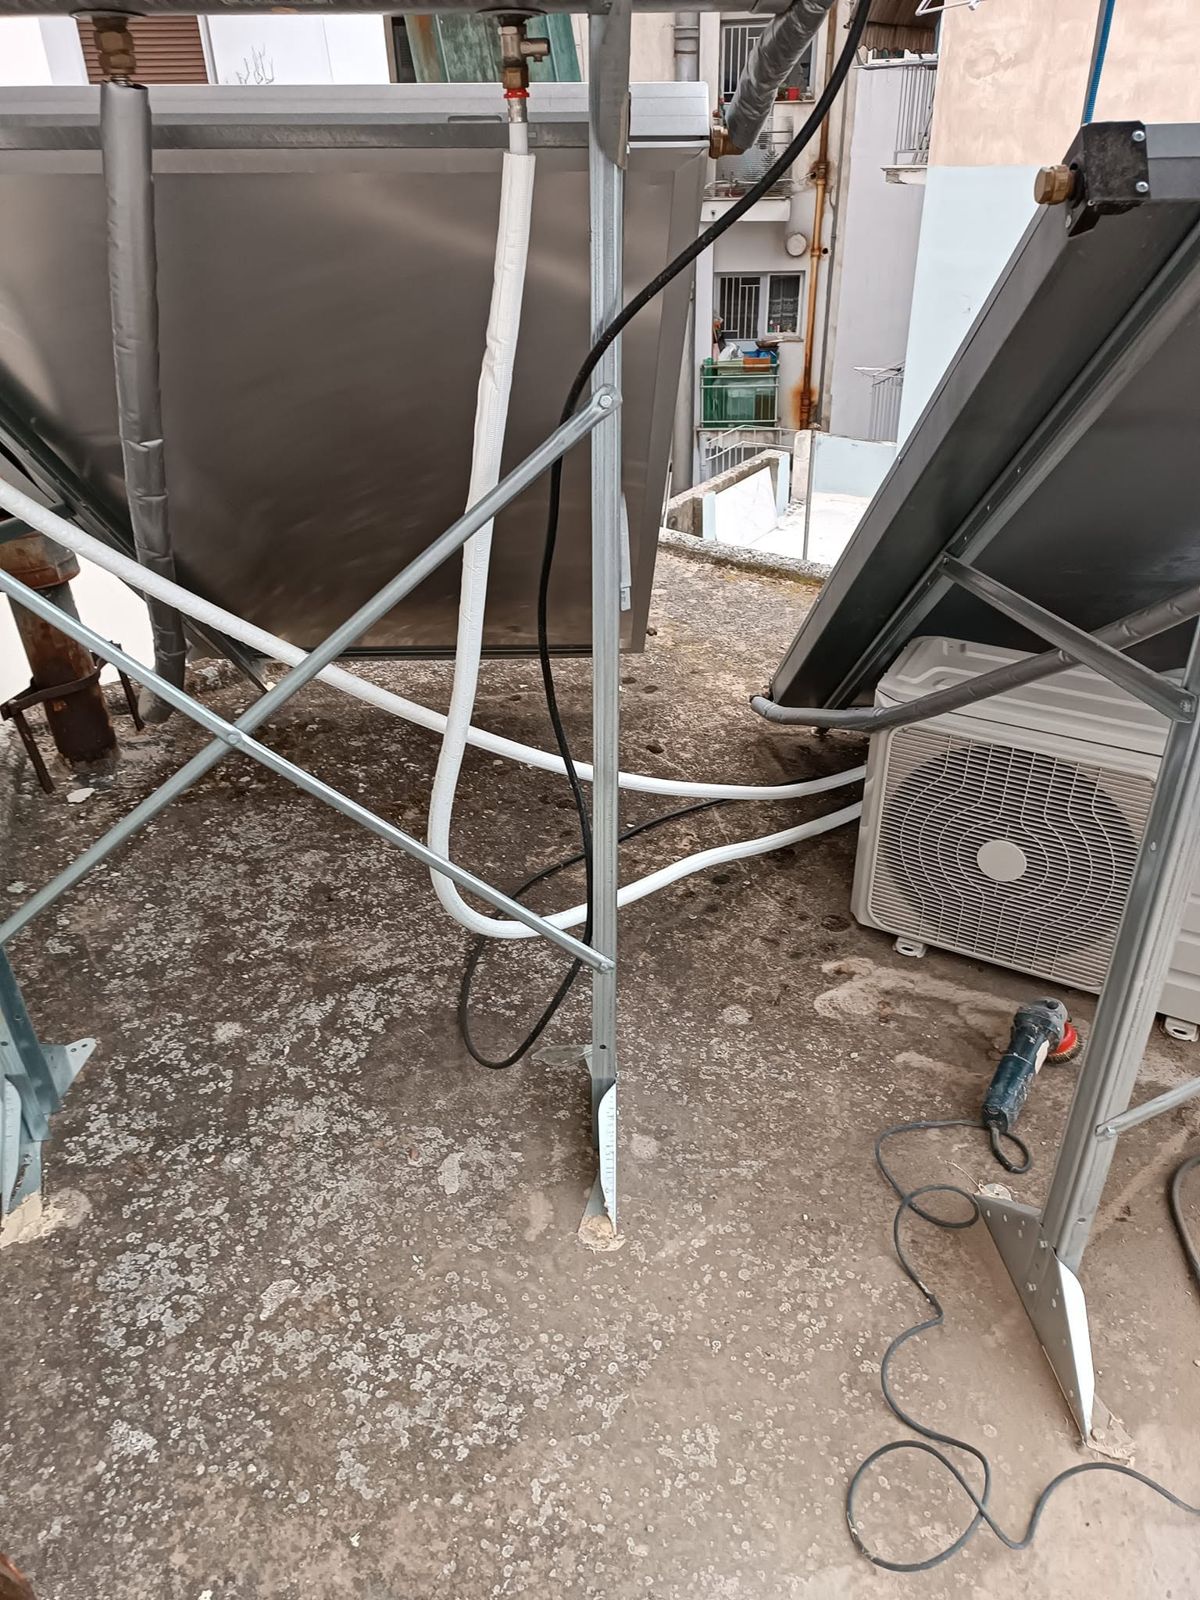
The roof was covered in dirt, loose material and cables. The heater frames and the air conditioning unit get in the way, and those are exactly the spots that tend to get missed.
2. Cleaning
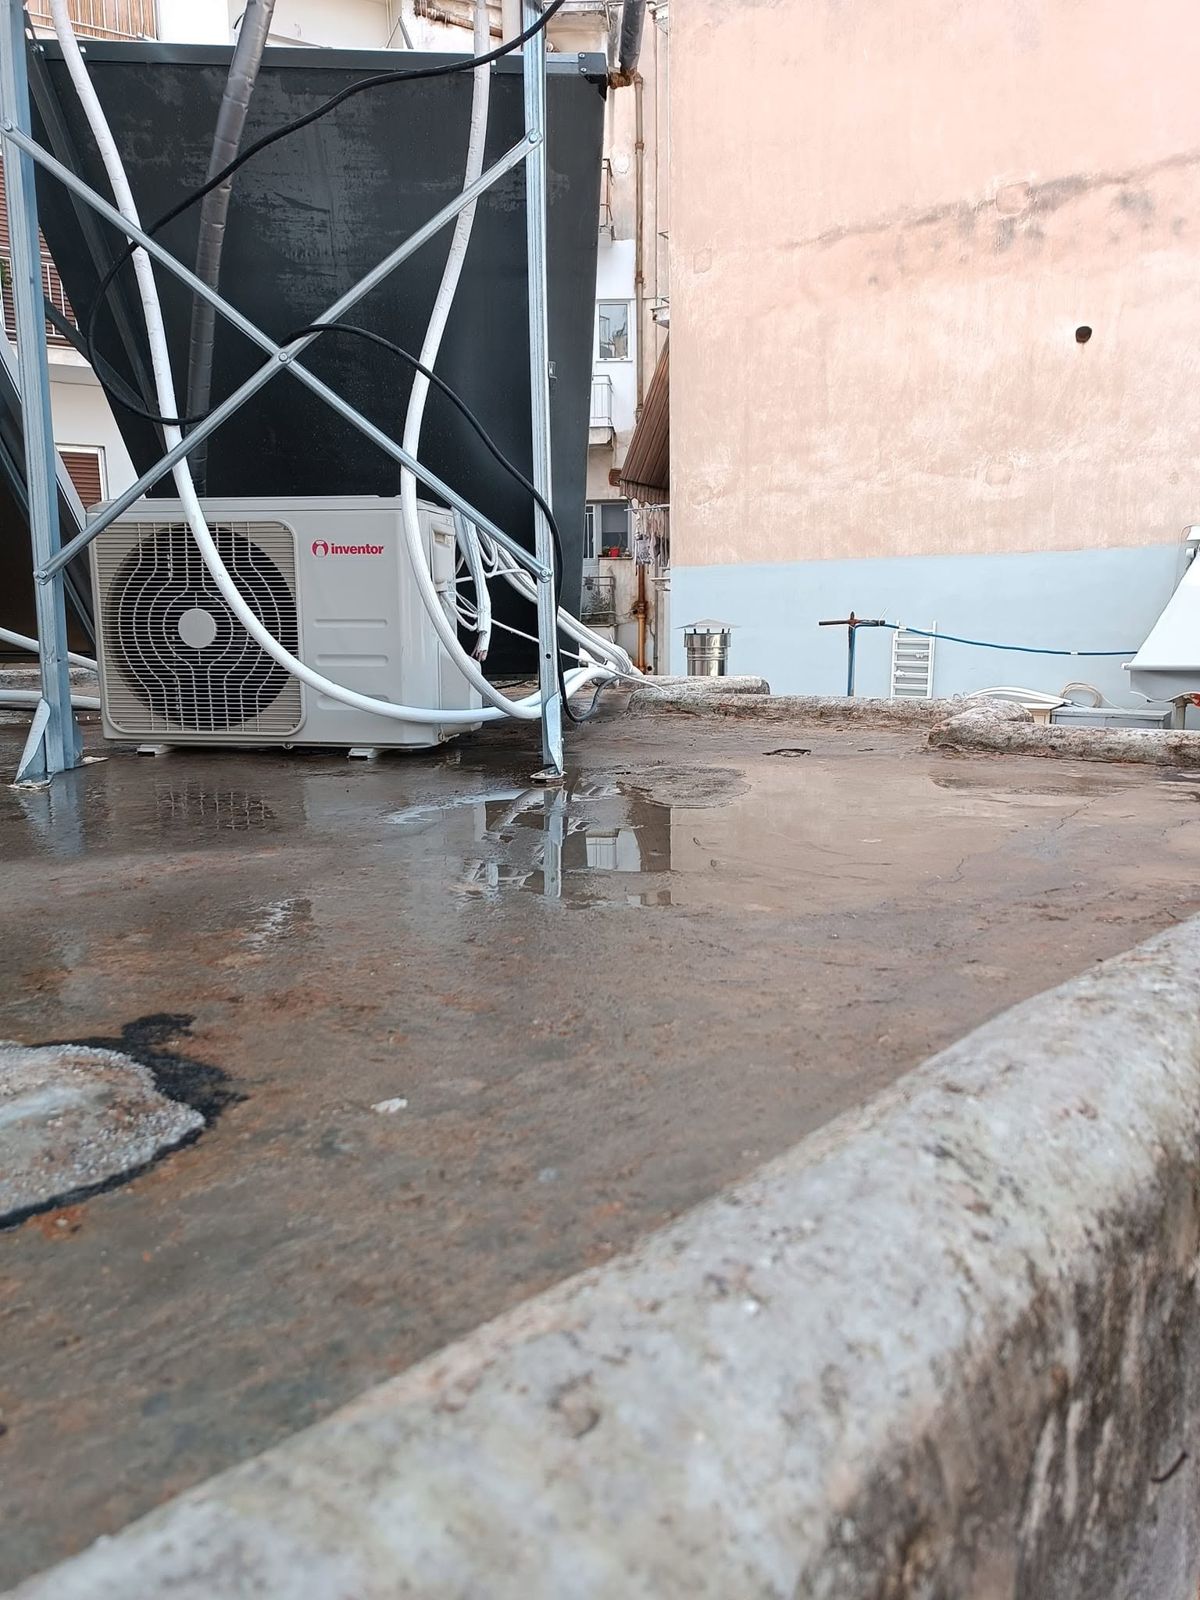
The surface is cleaned and washed so we can see what needs repairing.
3. Patching
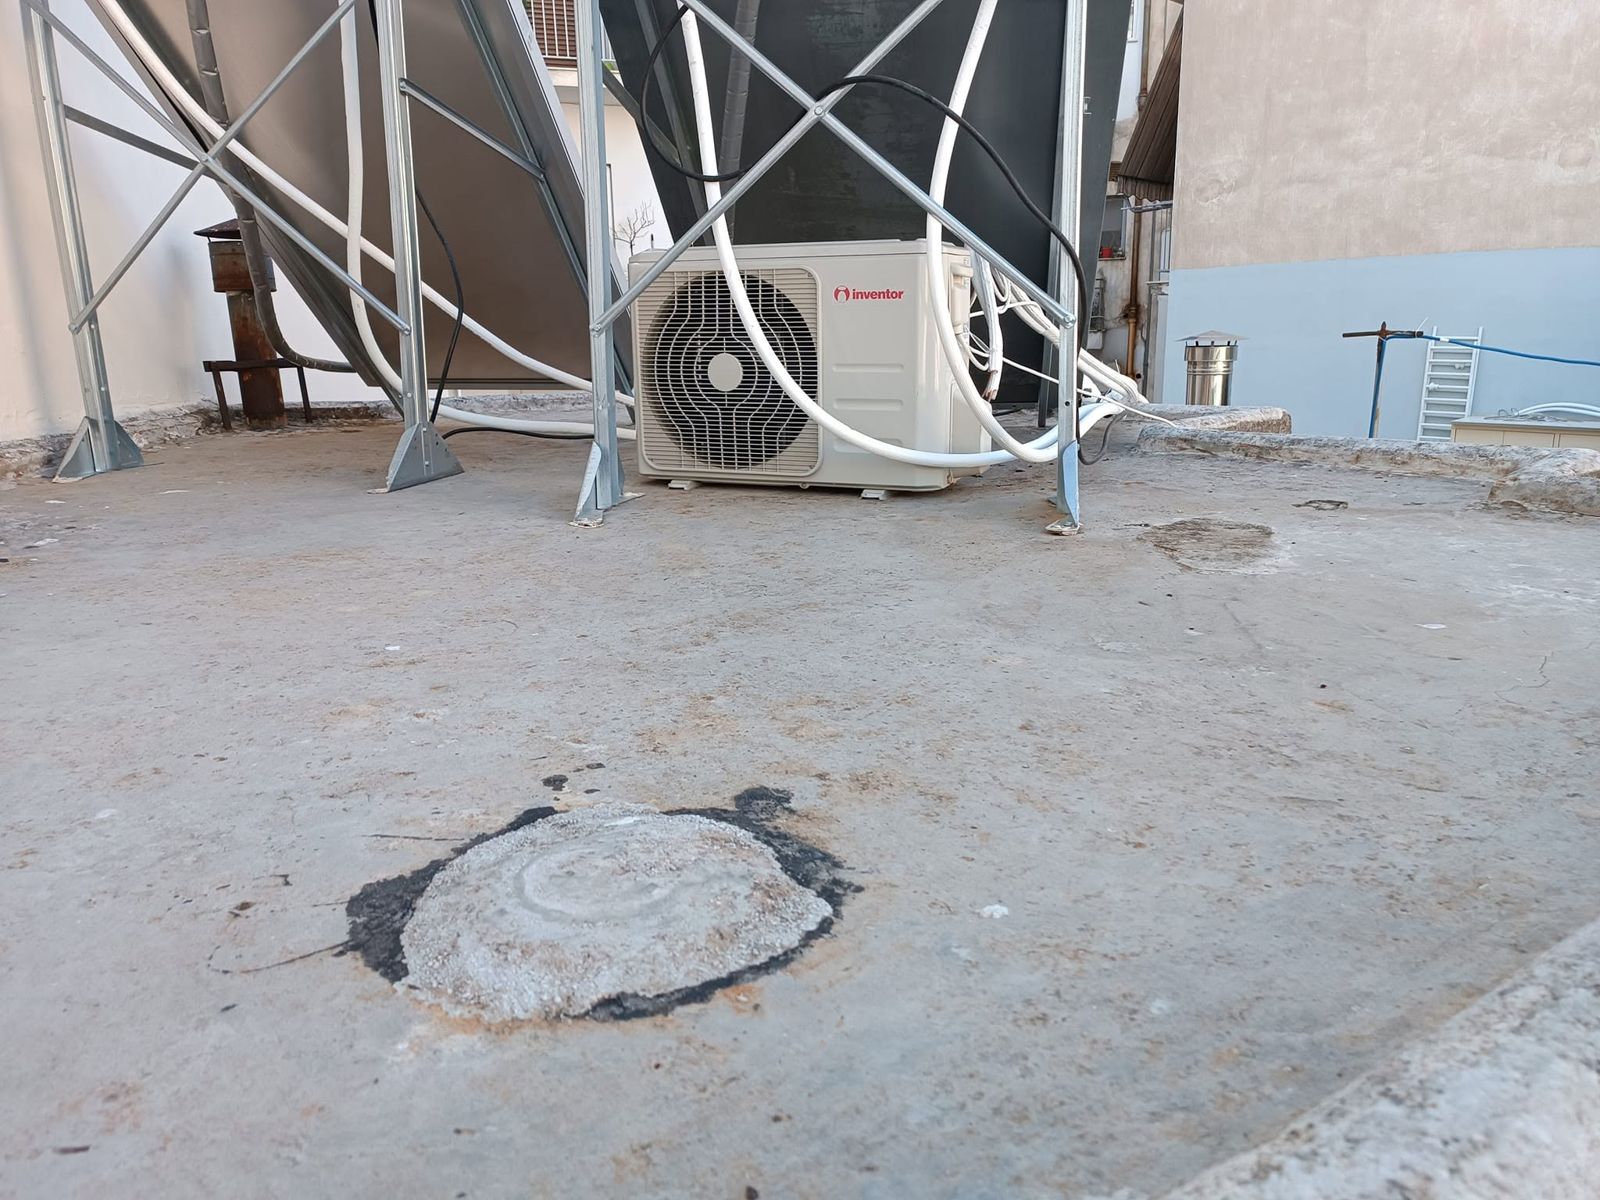
Damaged spots are filled and patched, so no holes are left under the waterproofing.
4. Material for levelling
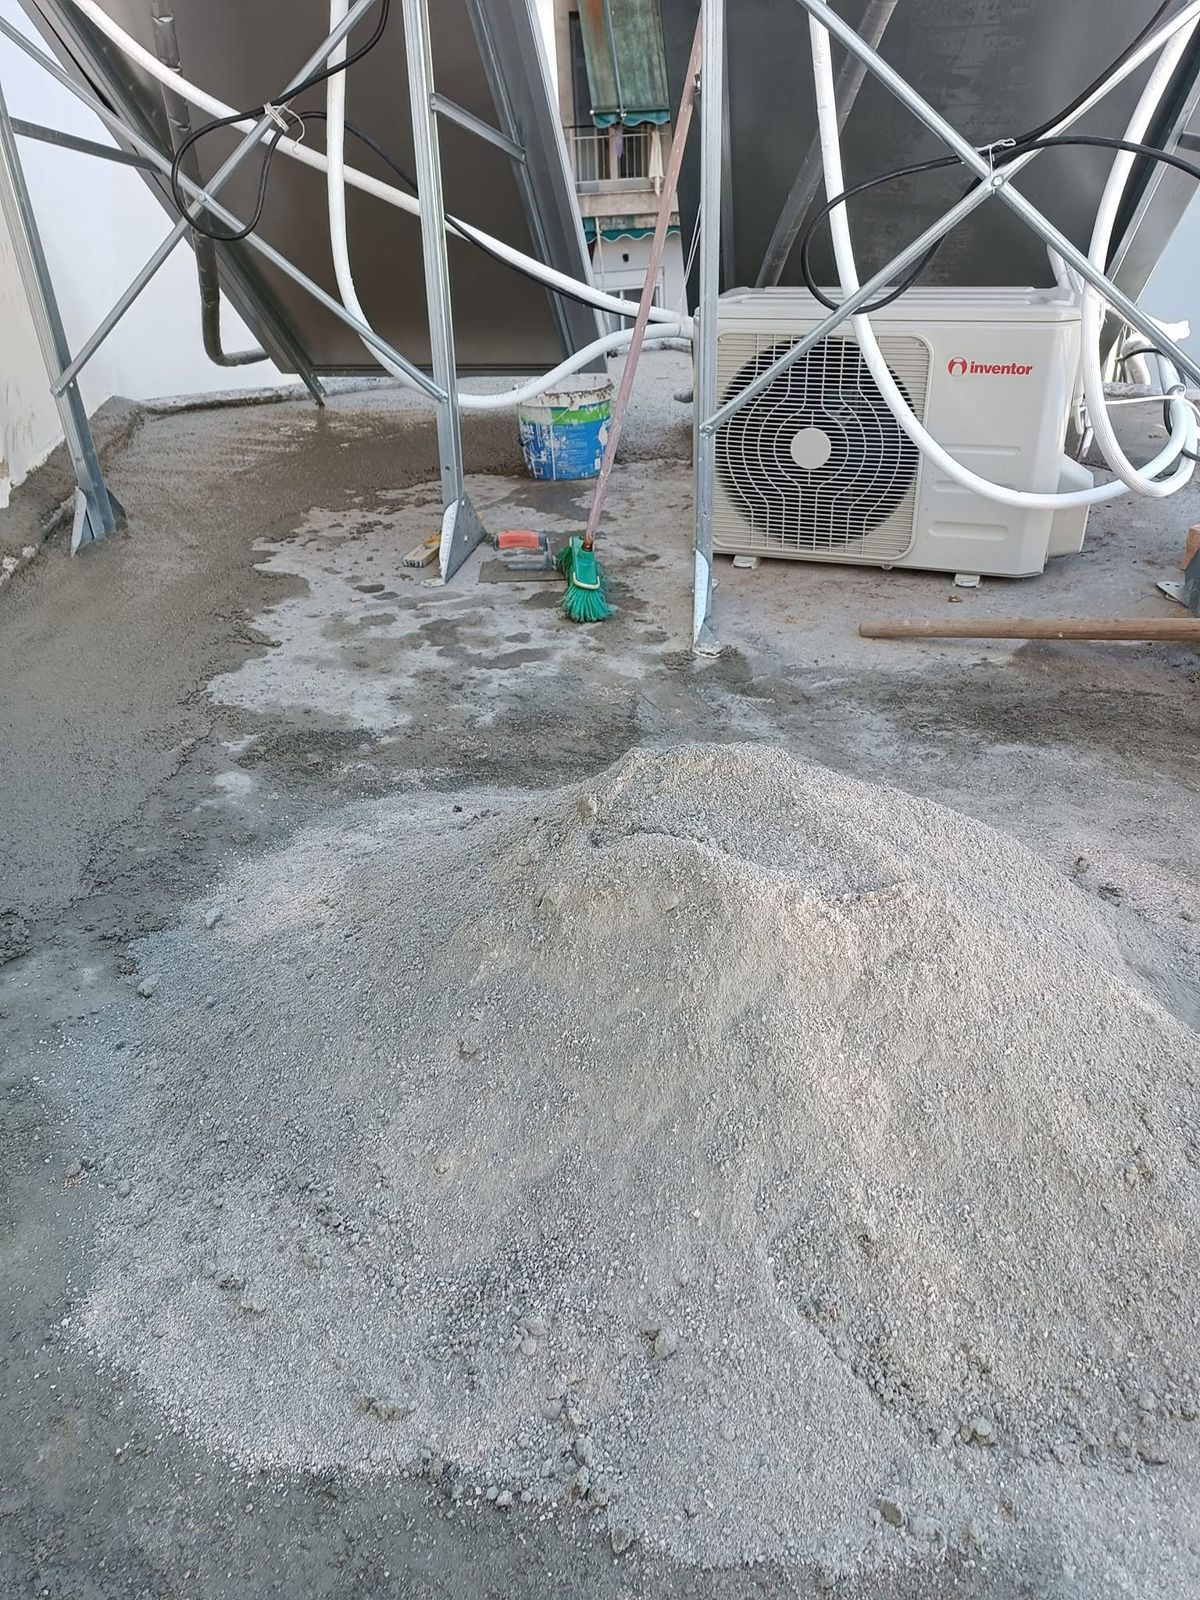
The roof had hollows where water pooled. The material is mixed to fill them.
5. A level surface
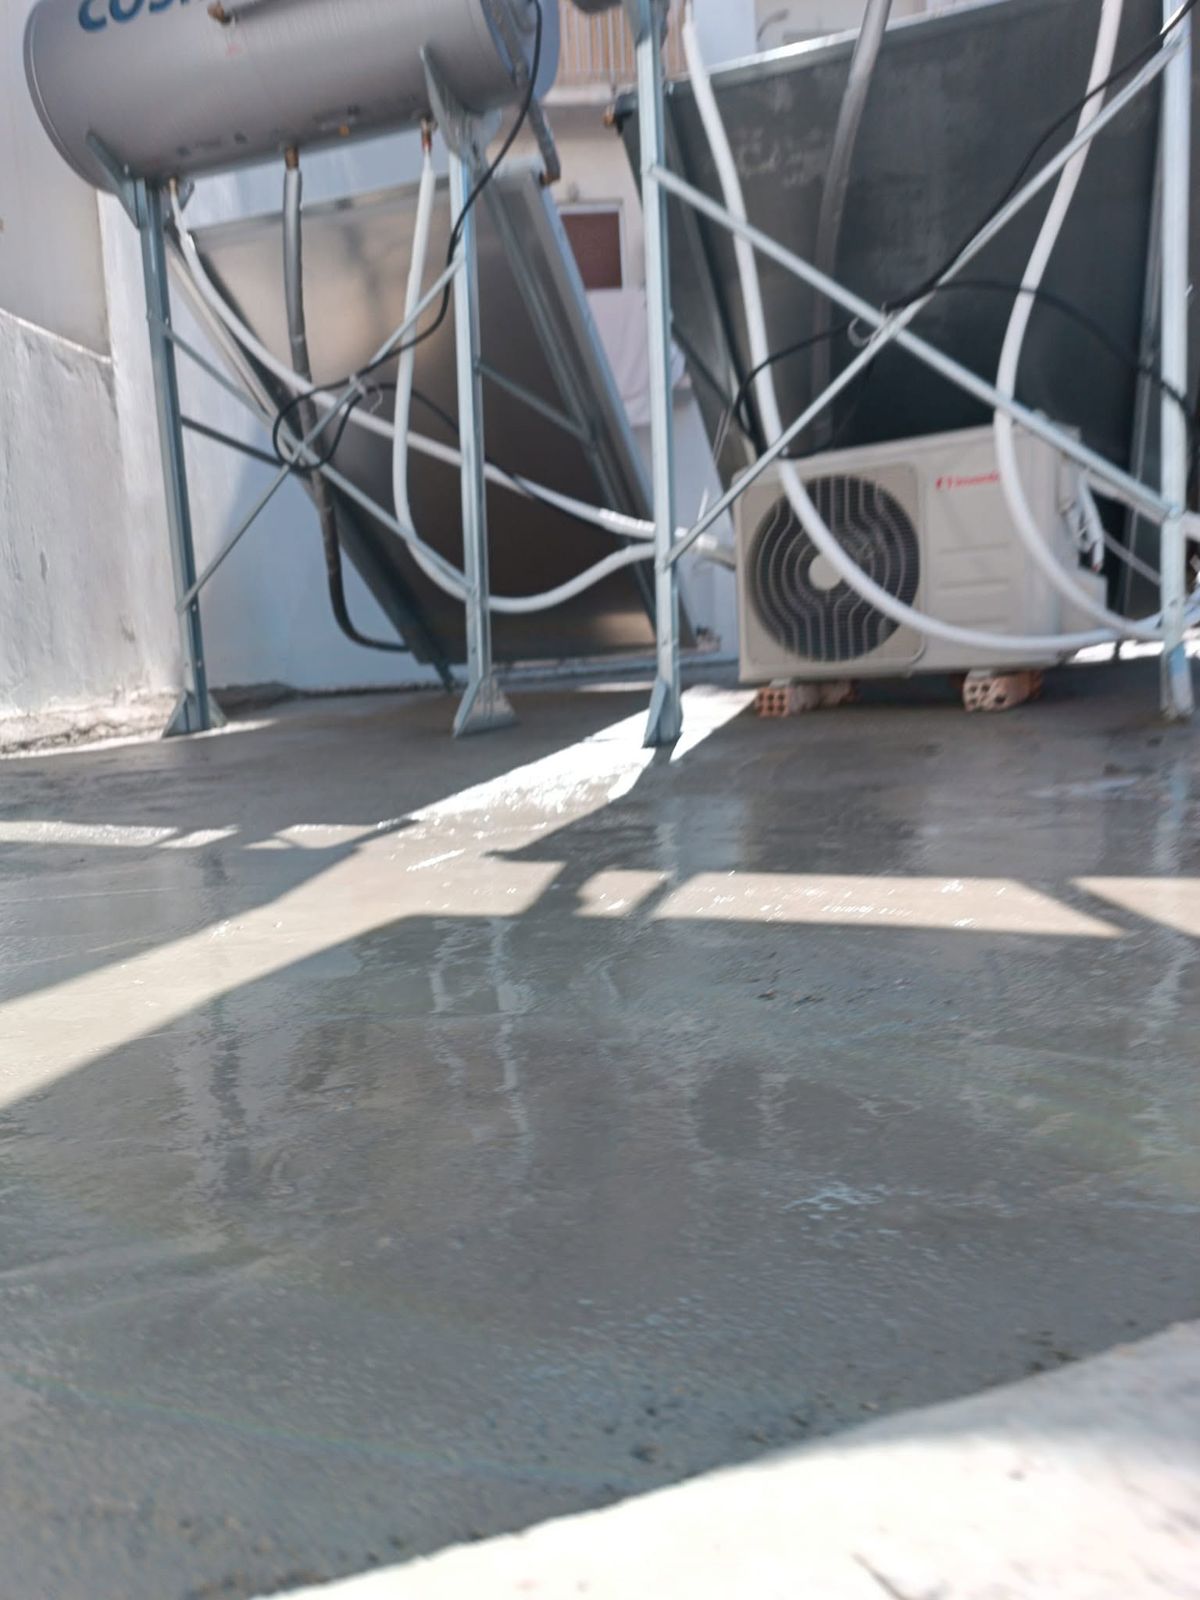
With the new layer the surface is level and water no longer sits on it.
6. Primer
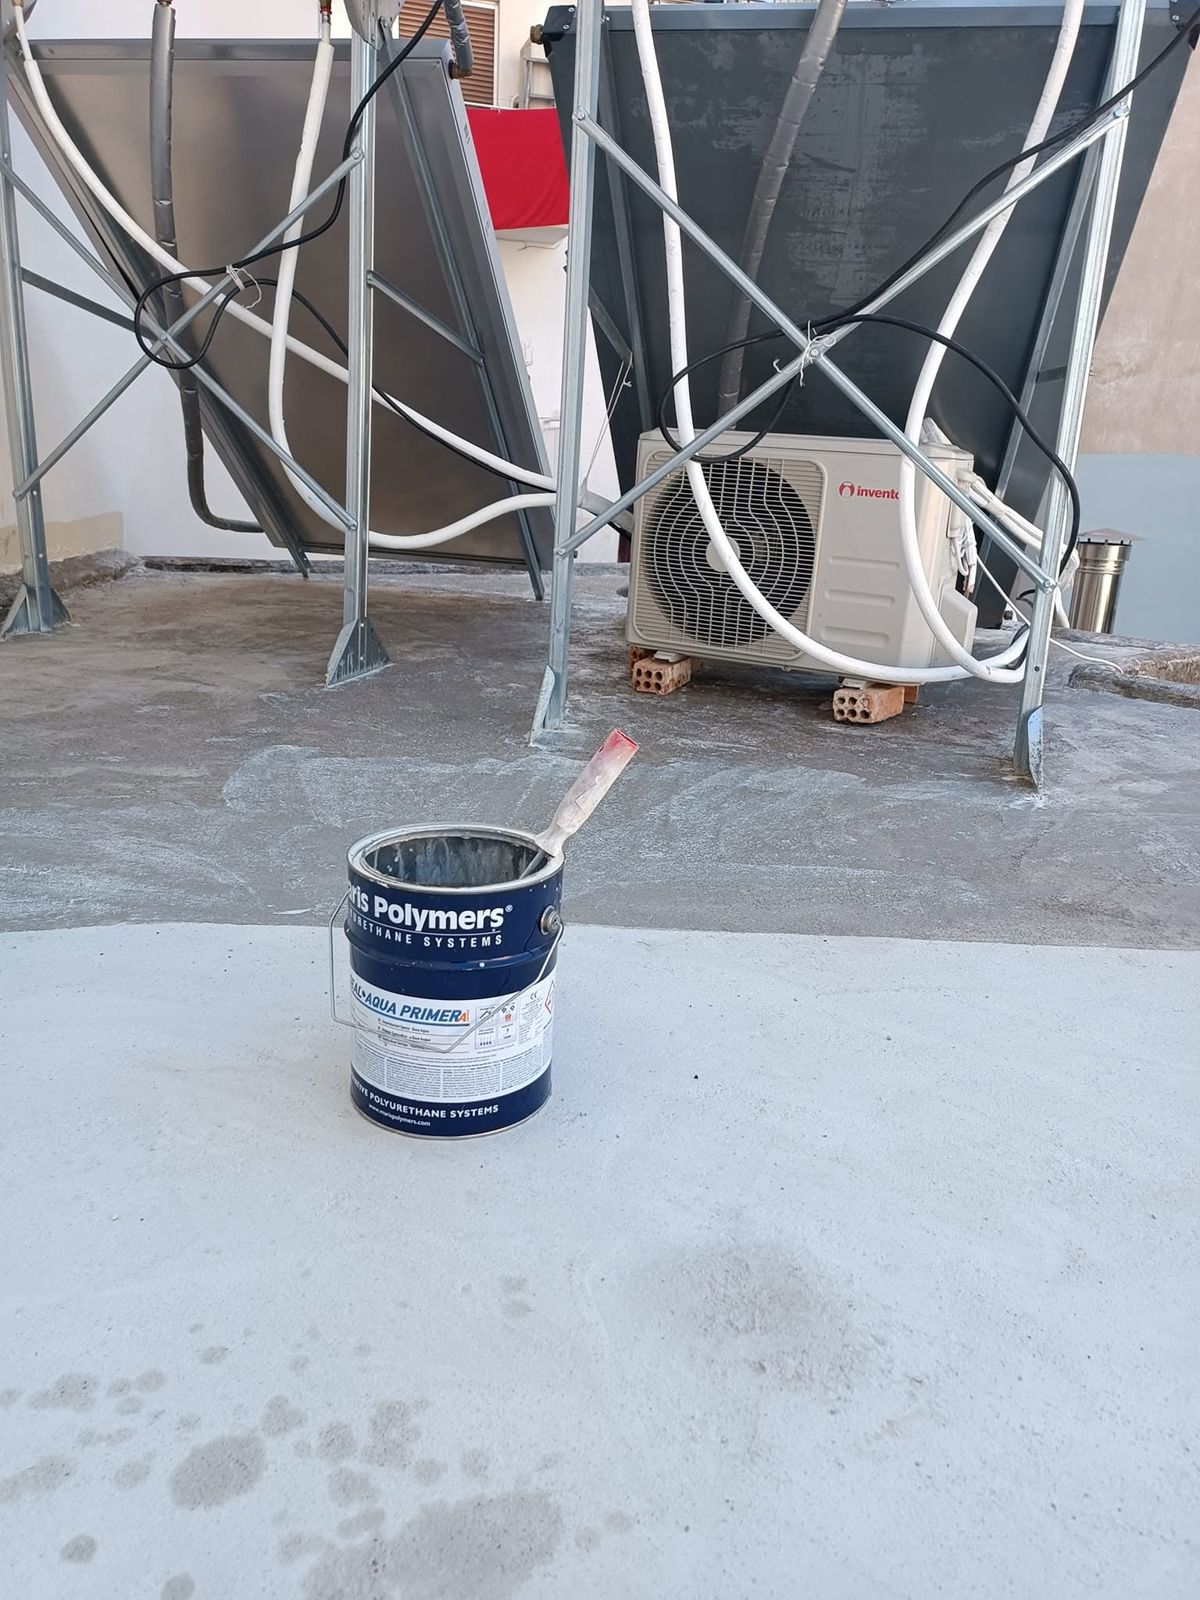
Primer goes on so the waterproofing bonds well. The air conditioning unit is raised on bricks so the spot underneath can be covered too.
7. First coat
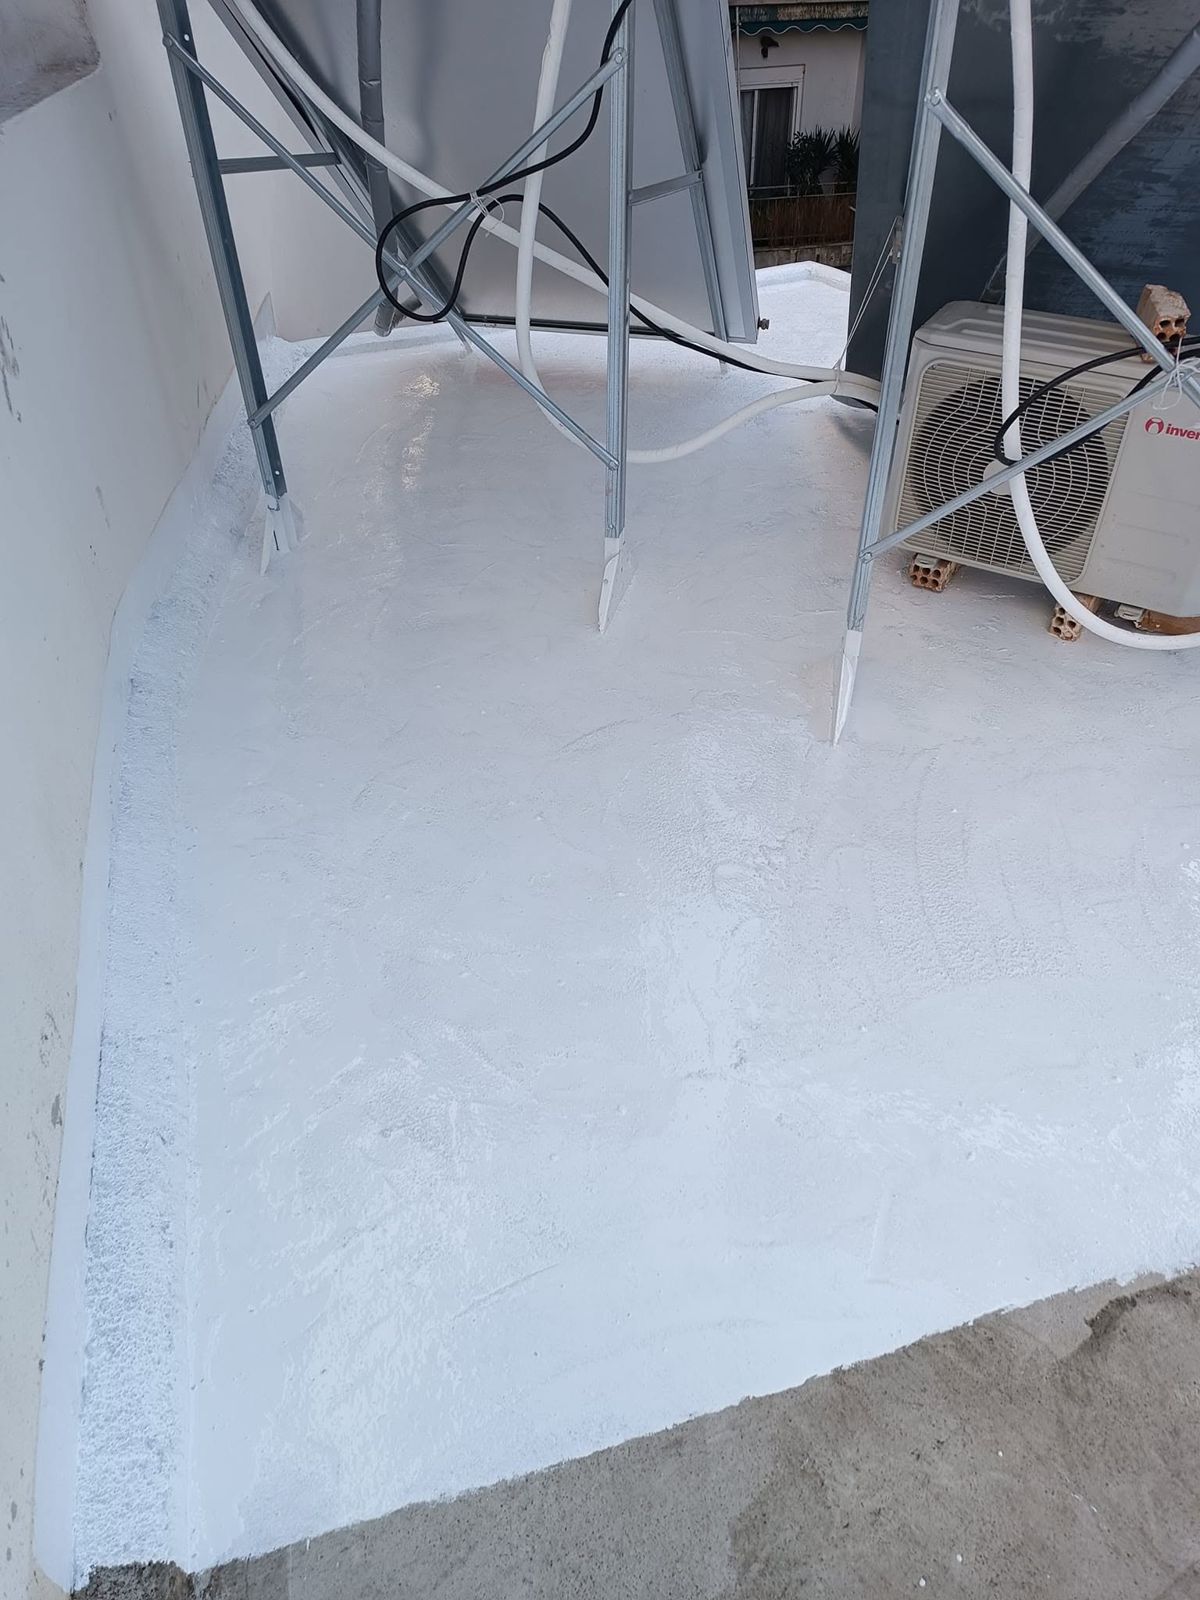
The waterproofing is worked around every leg of the frames and up the low walls.
8. The result
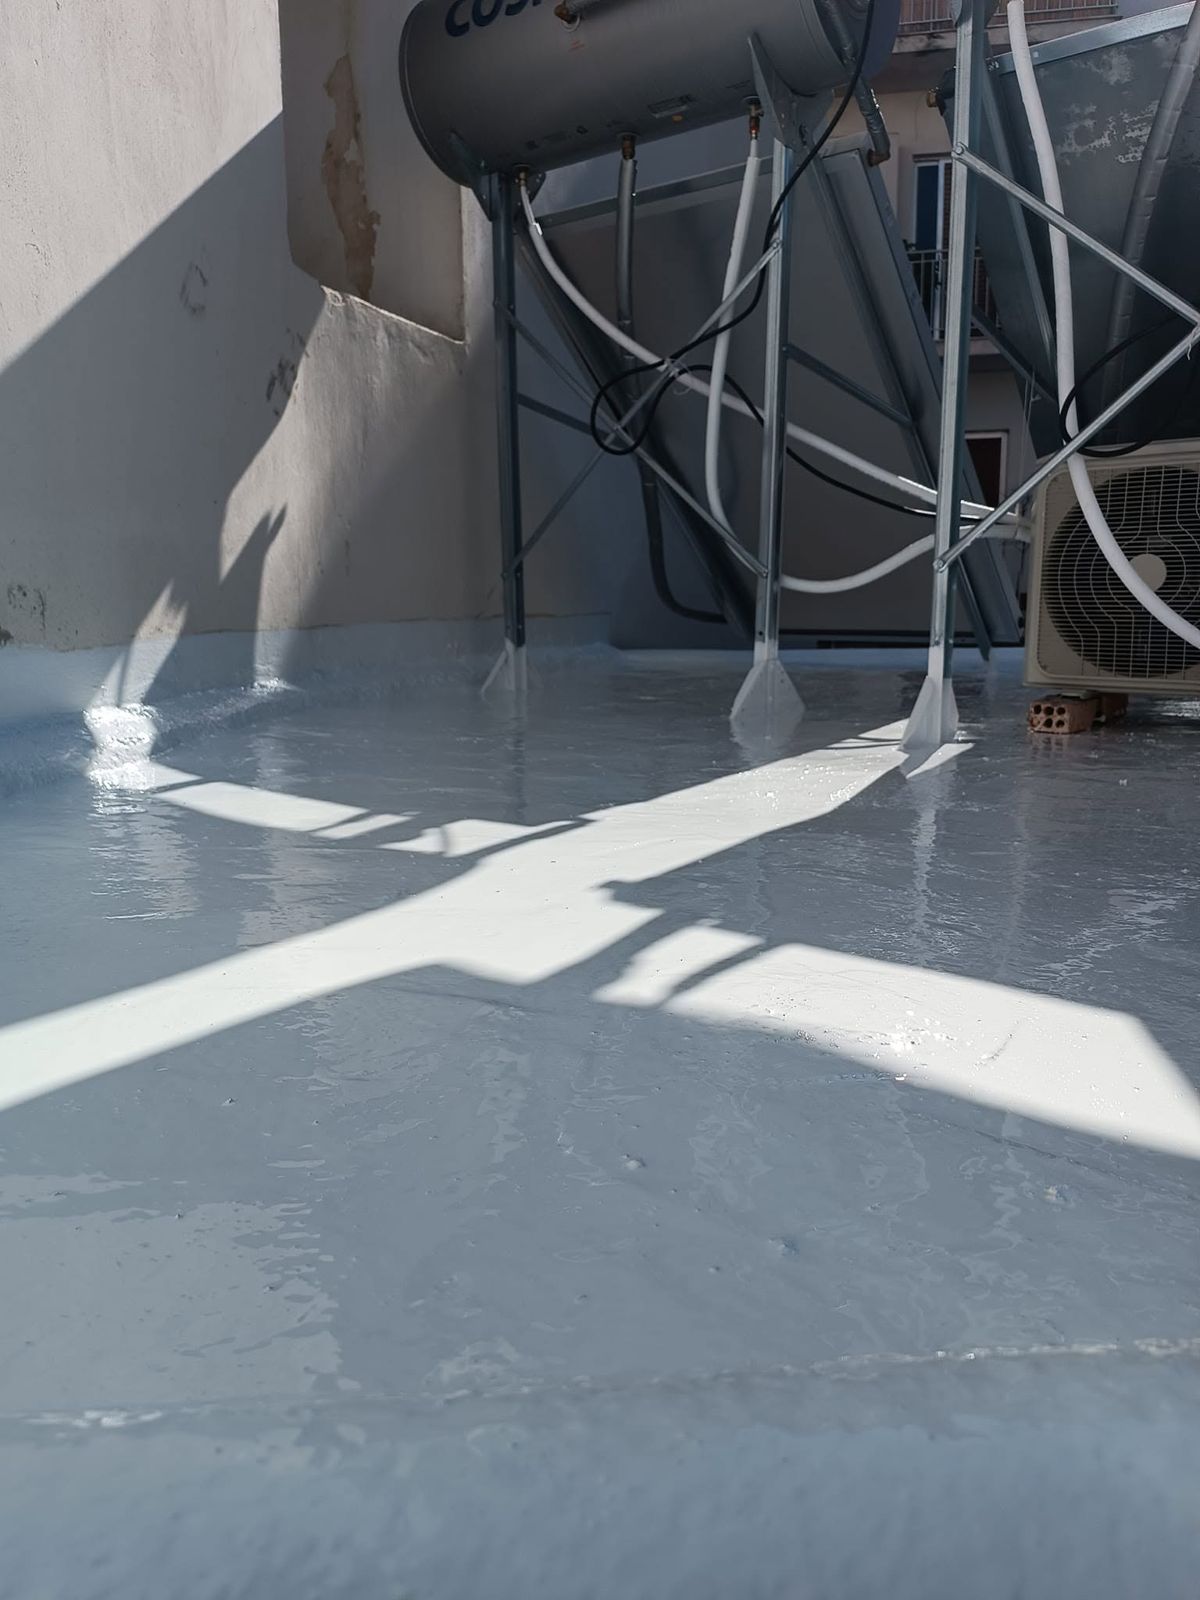
One continuous grey surface, with no bare spots between or under the frames.