Closing Up a Wall Opening in a Living Room
An opening between two rooms was bricked up, plastered and painted, and the wall now looks as if it had always been one piece.
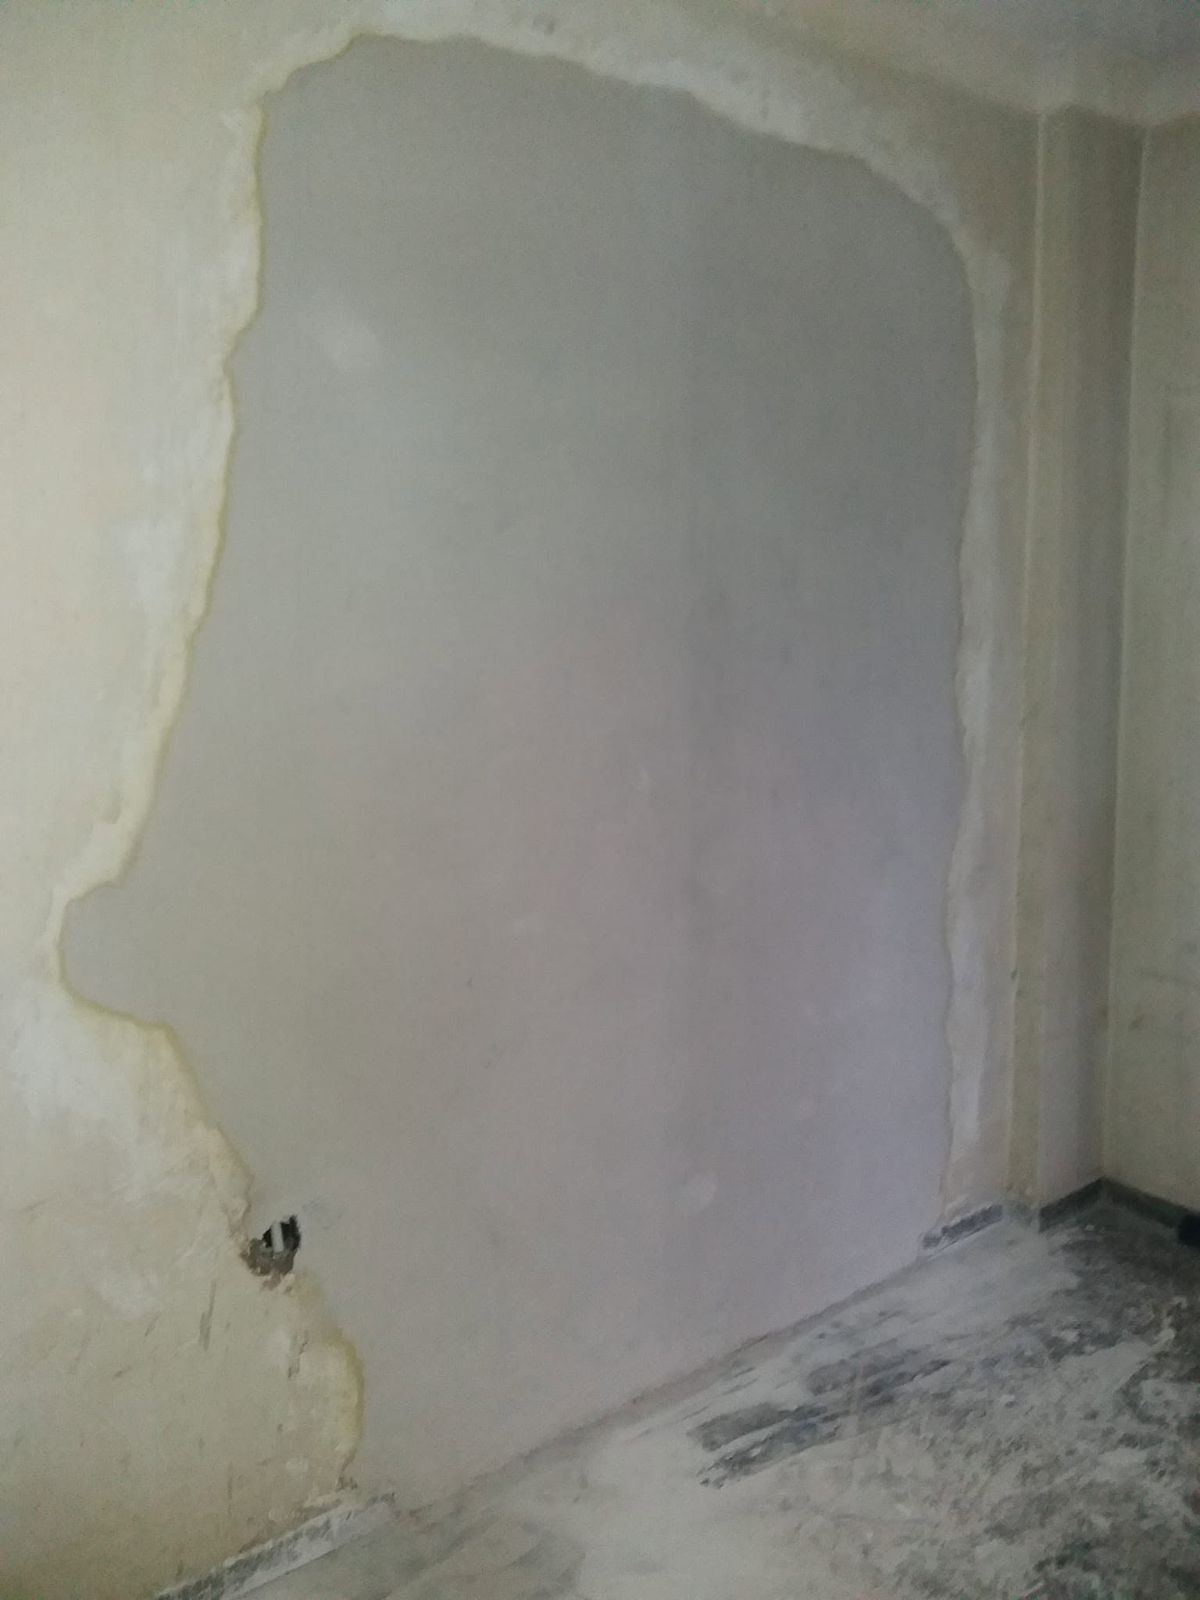
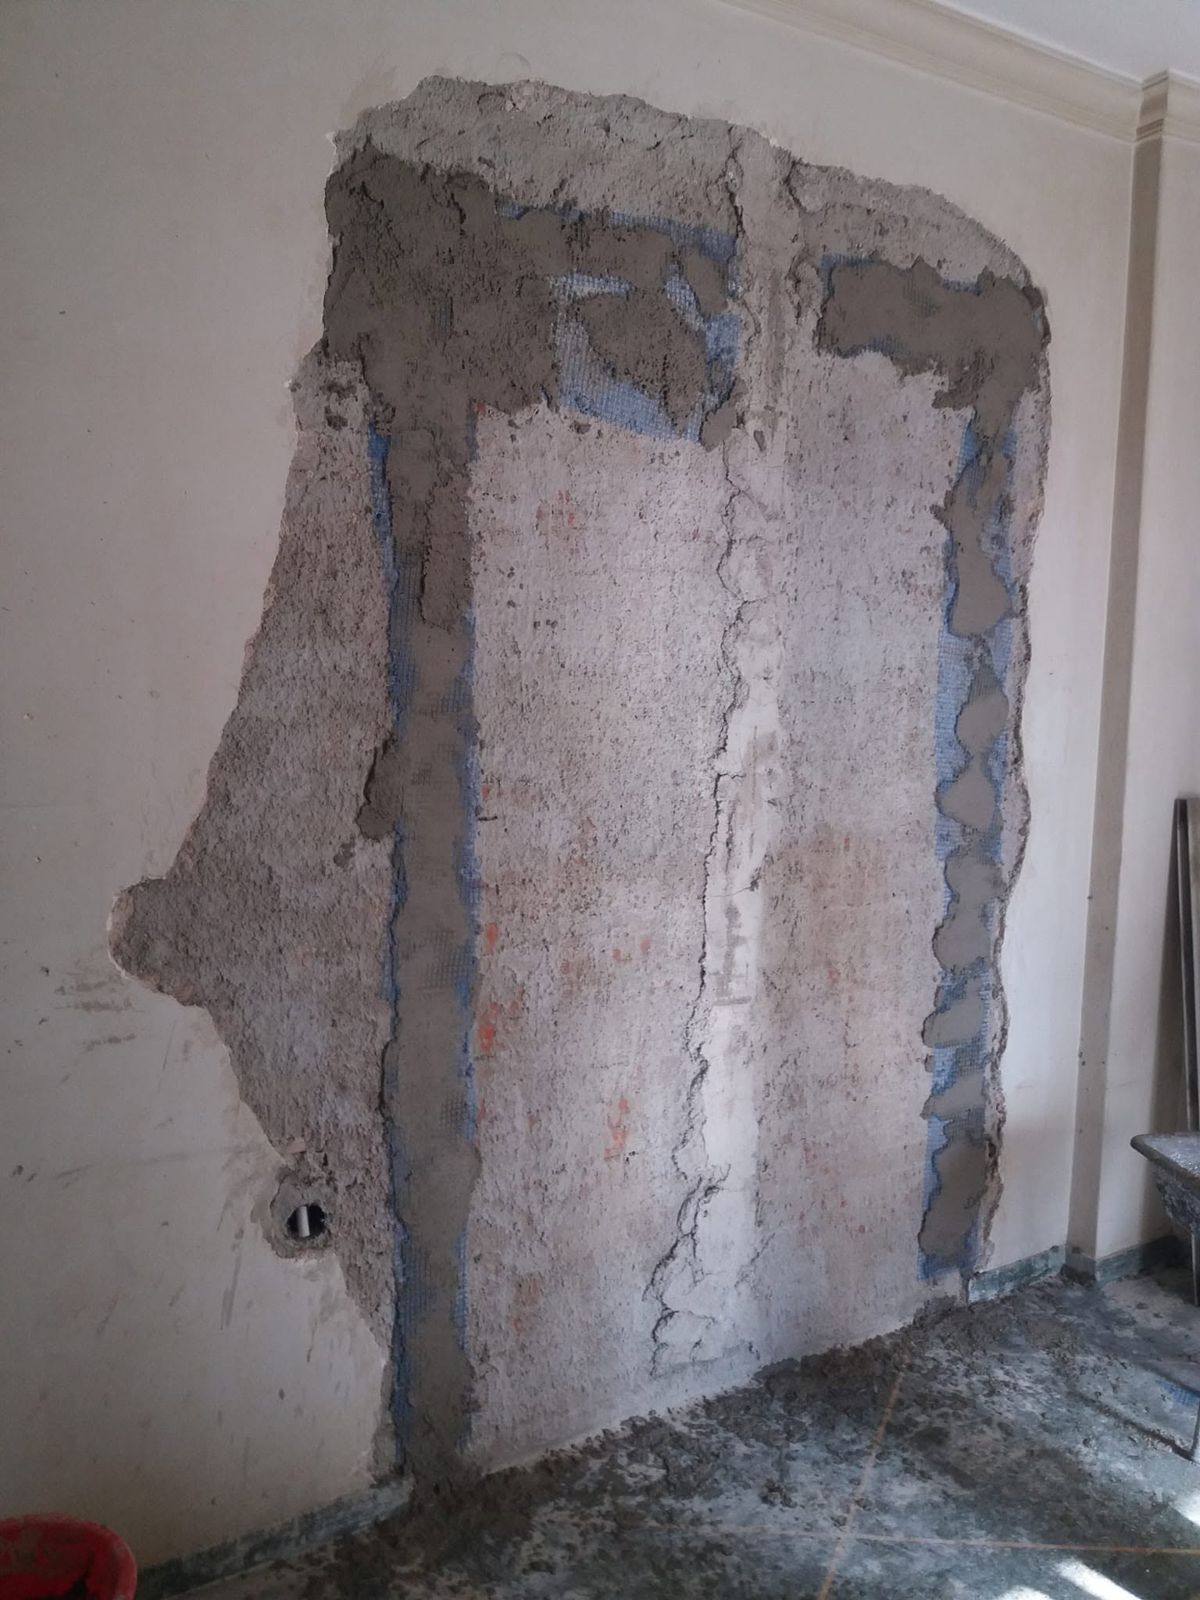
Drag to compare
Step by step
1. Before we started
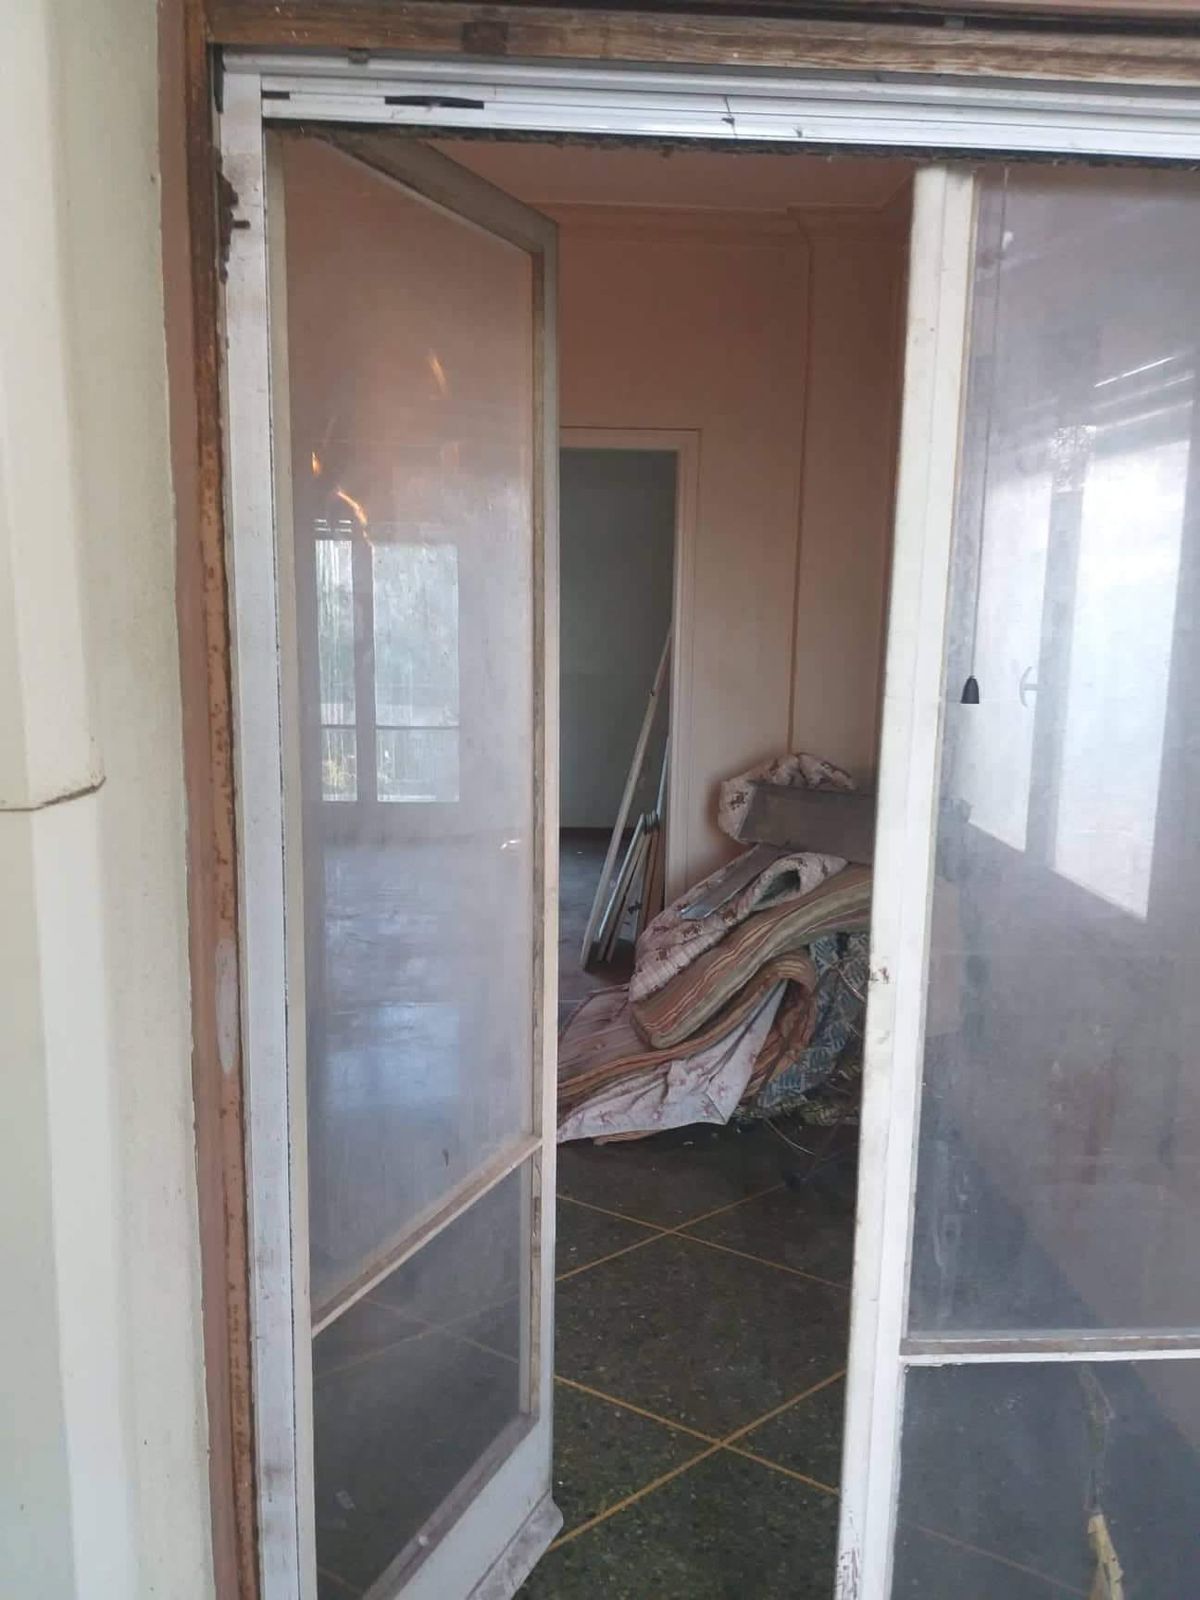
The room is cleared and things are moved aside so we can work freely.
2. Bricking it up
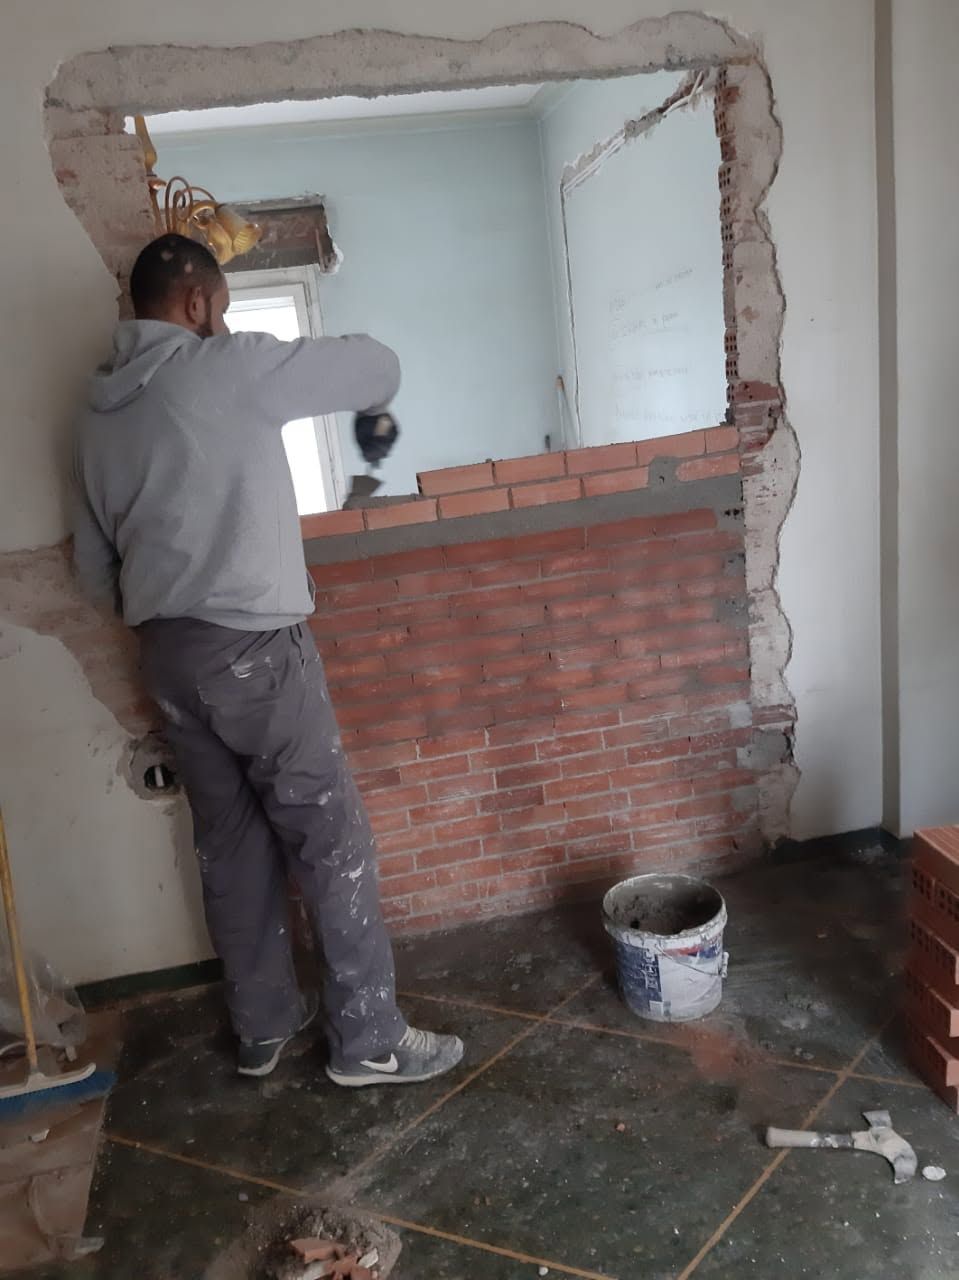
The opening is closed with bricks, course by course, in line with the rest of the wall.
3. Up to the ceiling
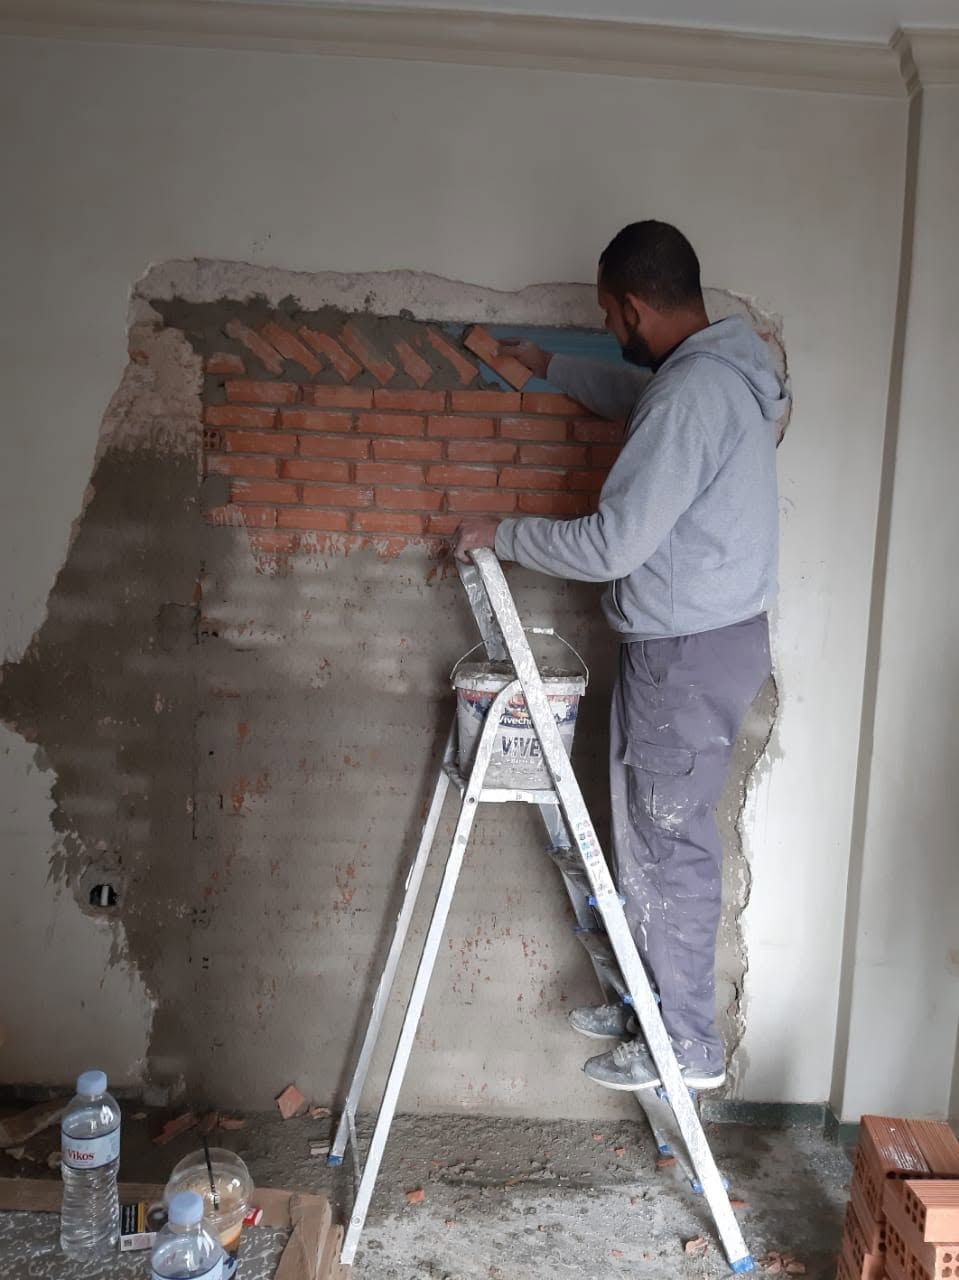
The last courses are wedged in under the ceiling so the new wall ties in with the old one.
4. Plaster
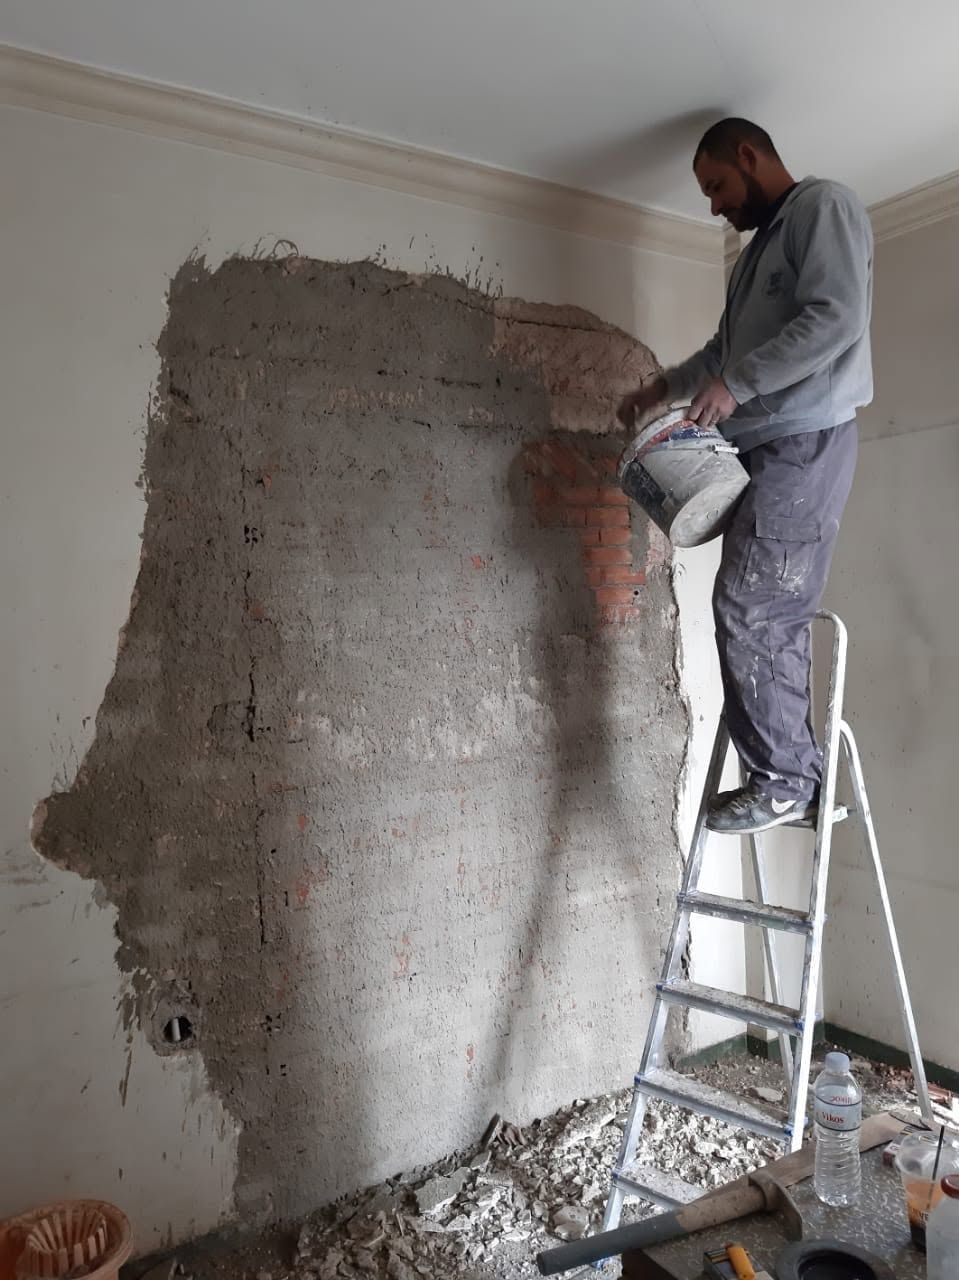
The first coat of plaster covers the bricks and laps a little onto the surrounding wall.
5. Second coat
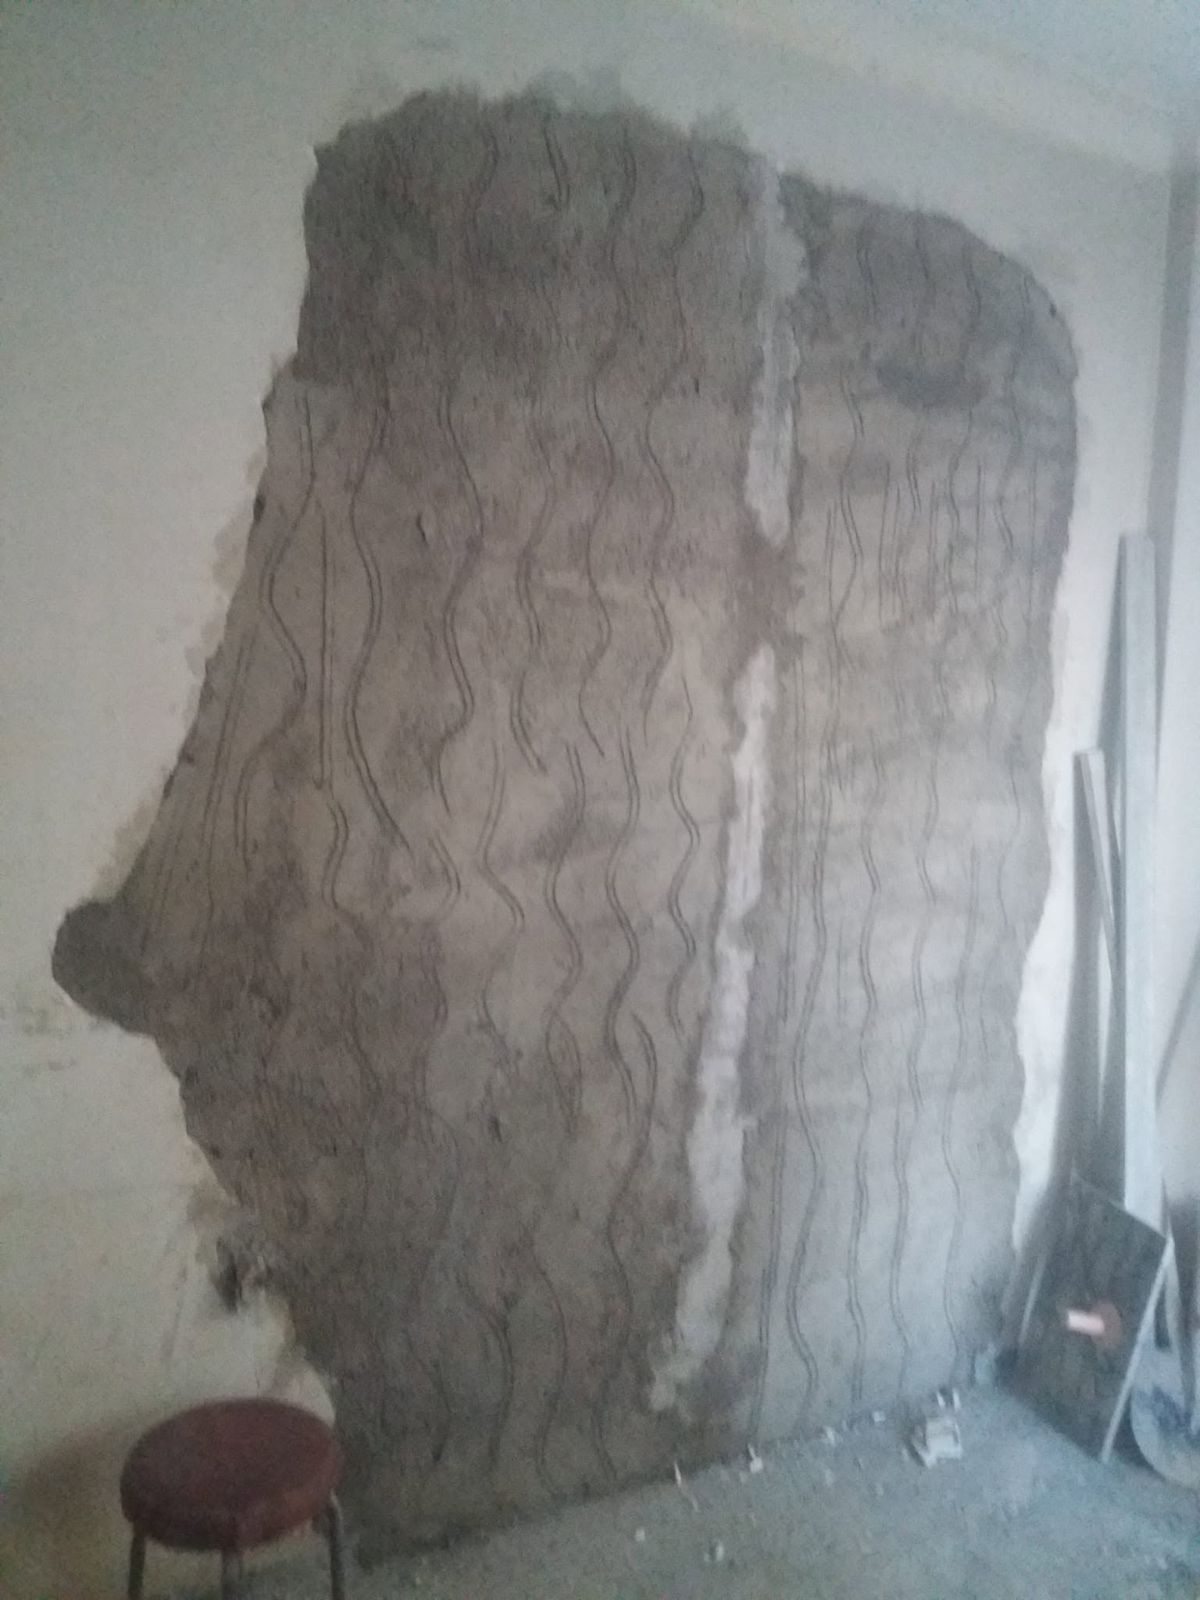
Mesh goes over the joints with the old wall so cracks do not open there. The second coat brings the surface flush with the rest of the wall.
6. Filler
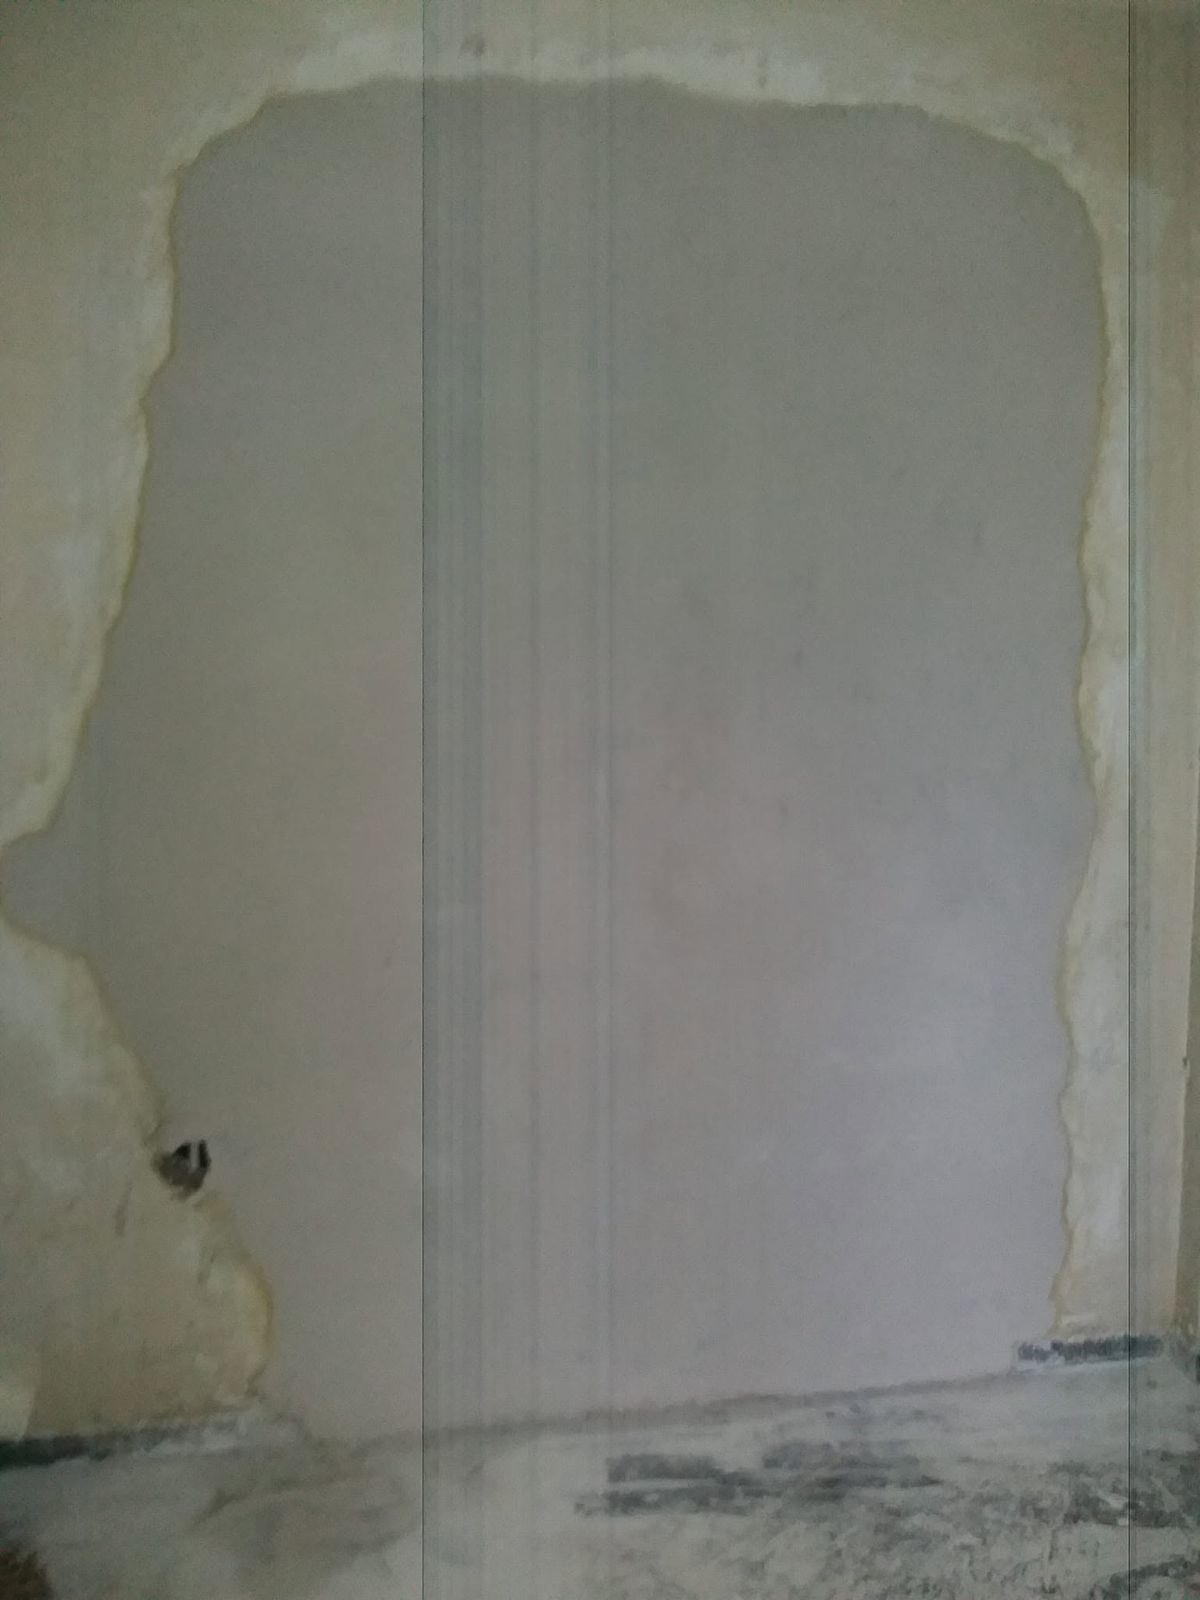
Filler gives a smooth surface and blends the edges between the new and the old.
7. Painting
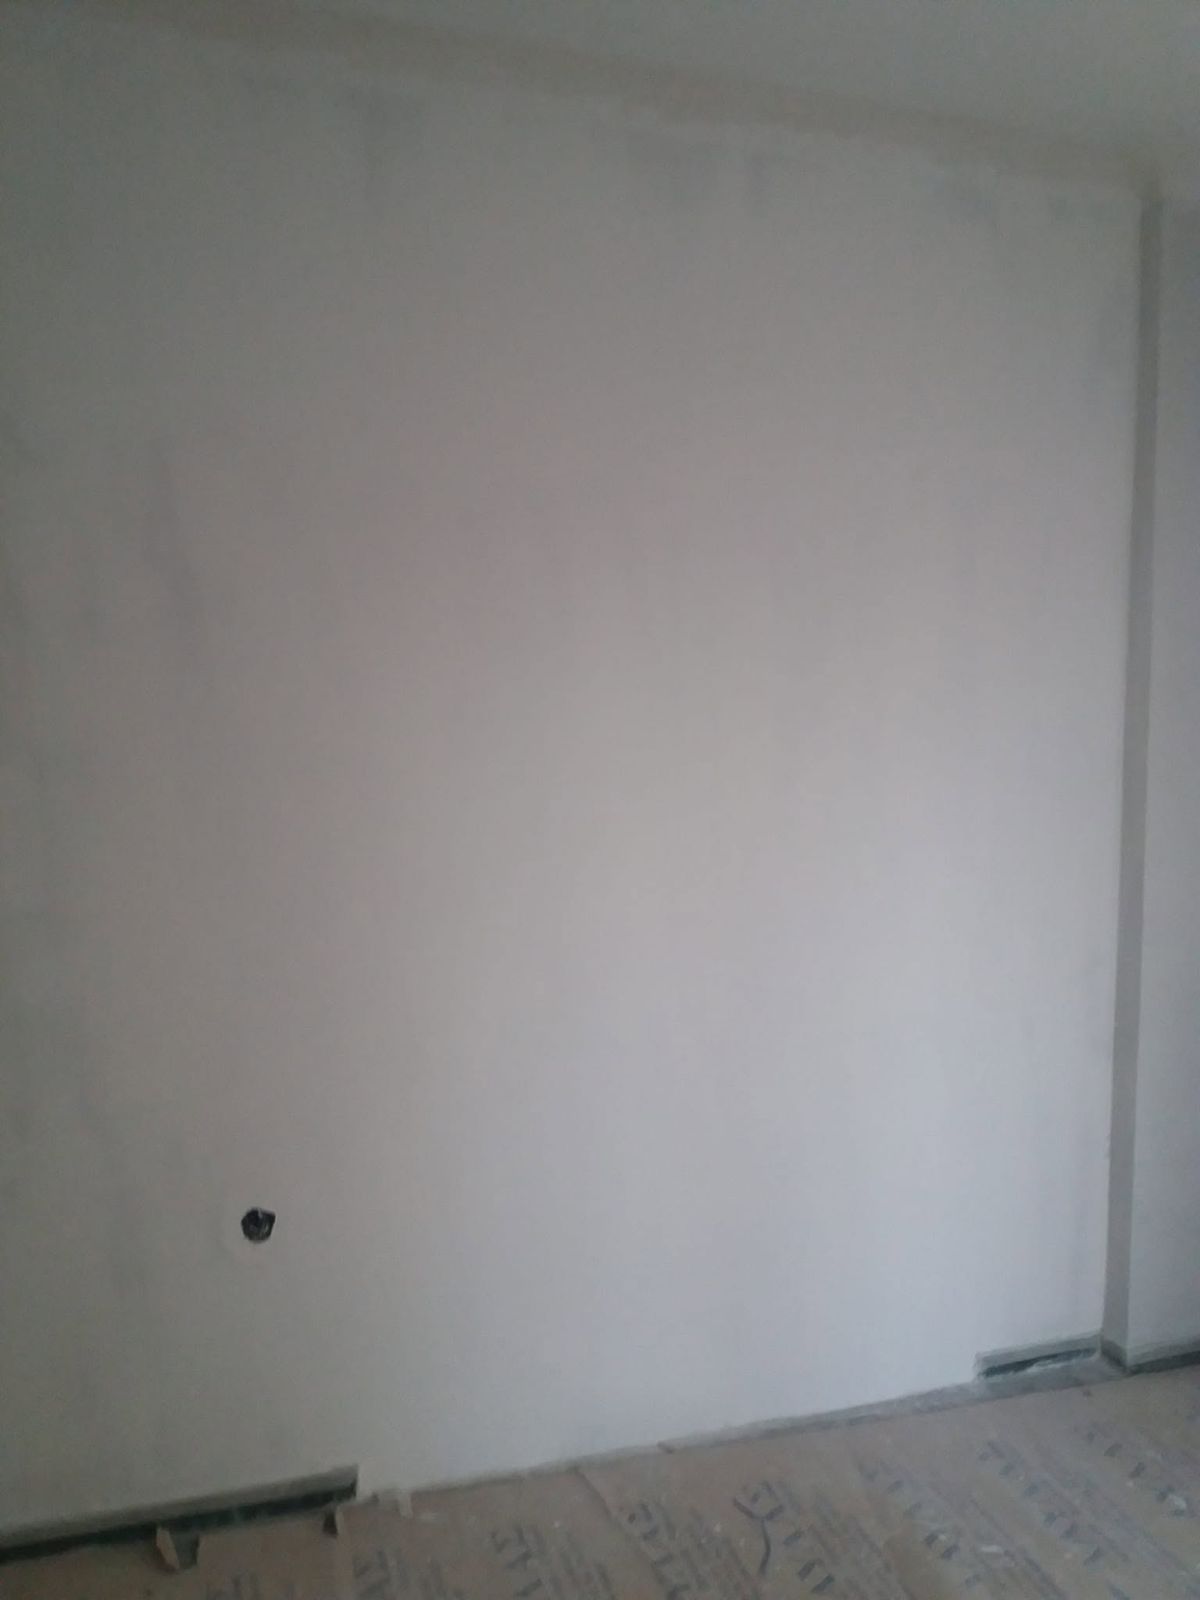
Once painted, there is no telling where the opening used to be.
8. The result
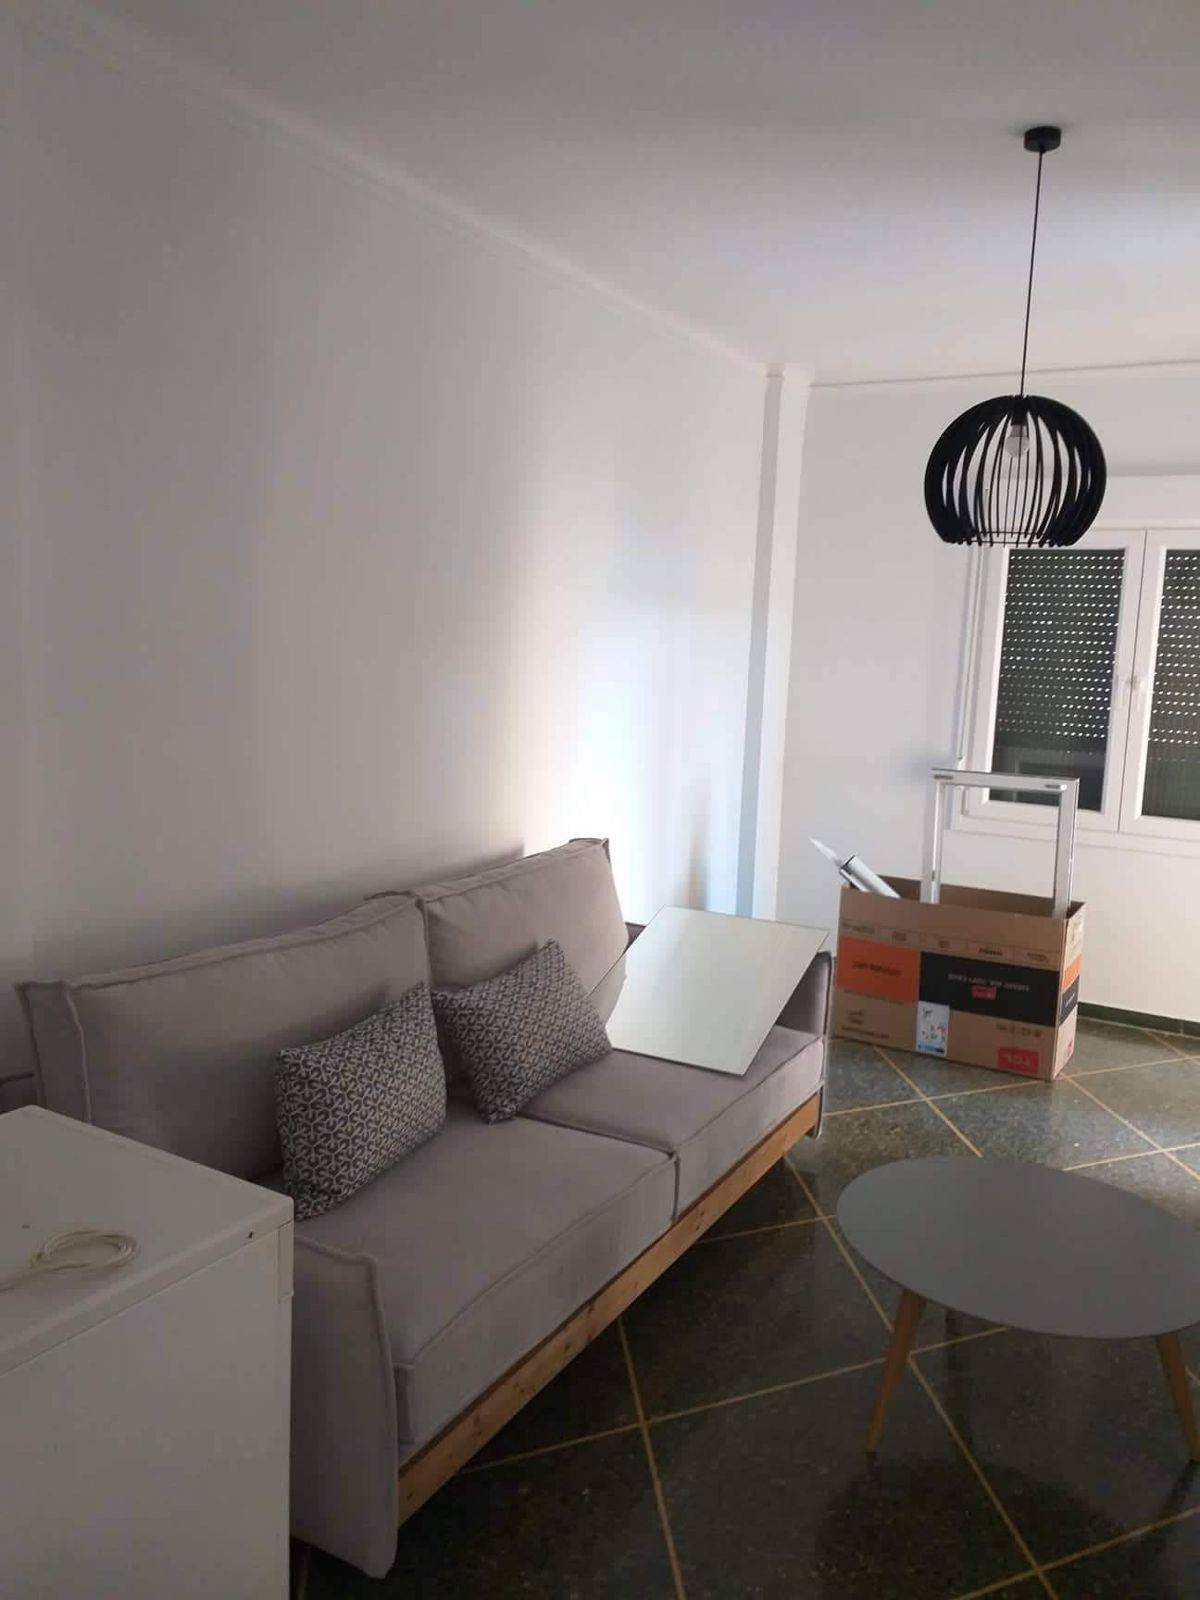
The living room is set up again, with fresh paint and a wall that shows no trace of the old opening.