Bathroom Renovation with Striped Tiles
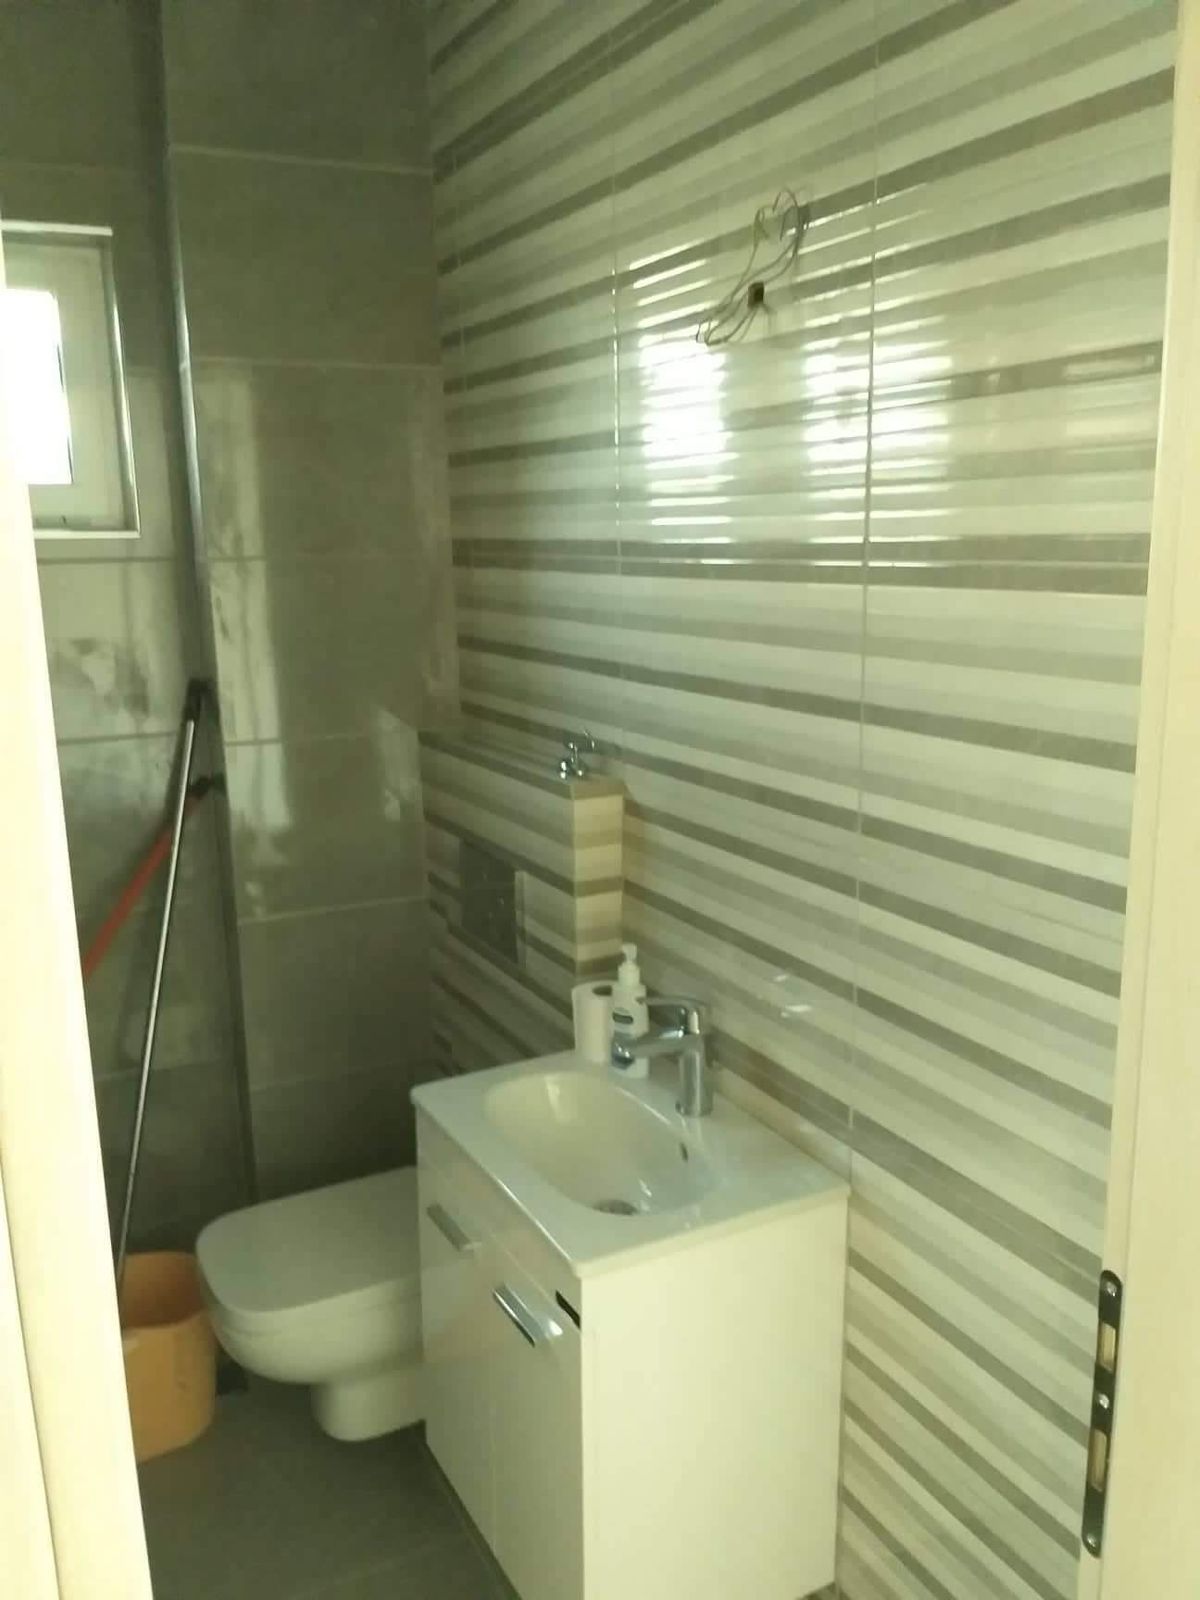
An old bathroom with a bathtub was stripped back to the brick and rebuilt with new pipework, a plasterboard ceiling and striped tiles.
Step by step
1. The old bathroom
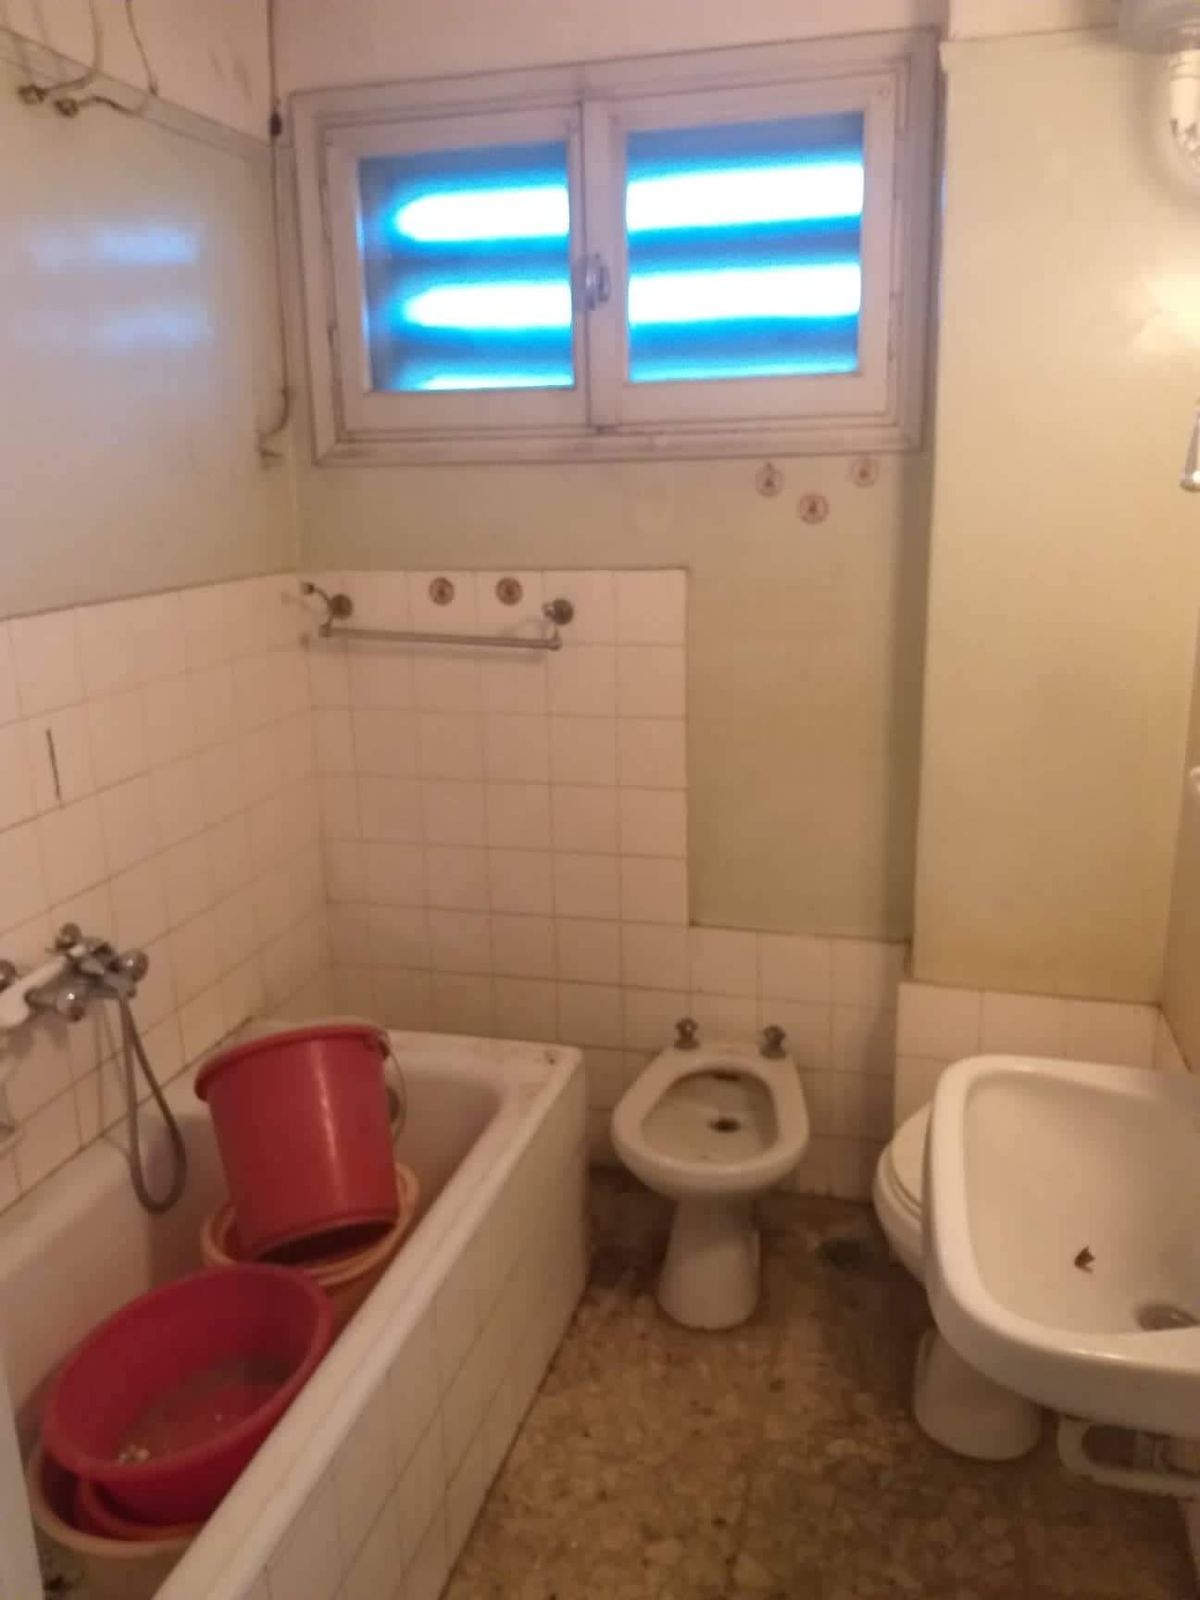
A tired bathroom with old tiles, a bathtub and fittings that had had their day.
2. Demolition
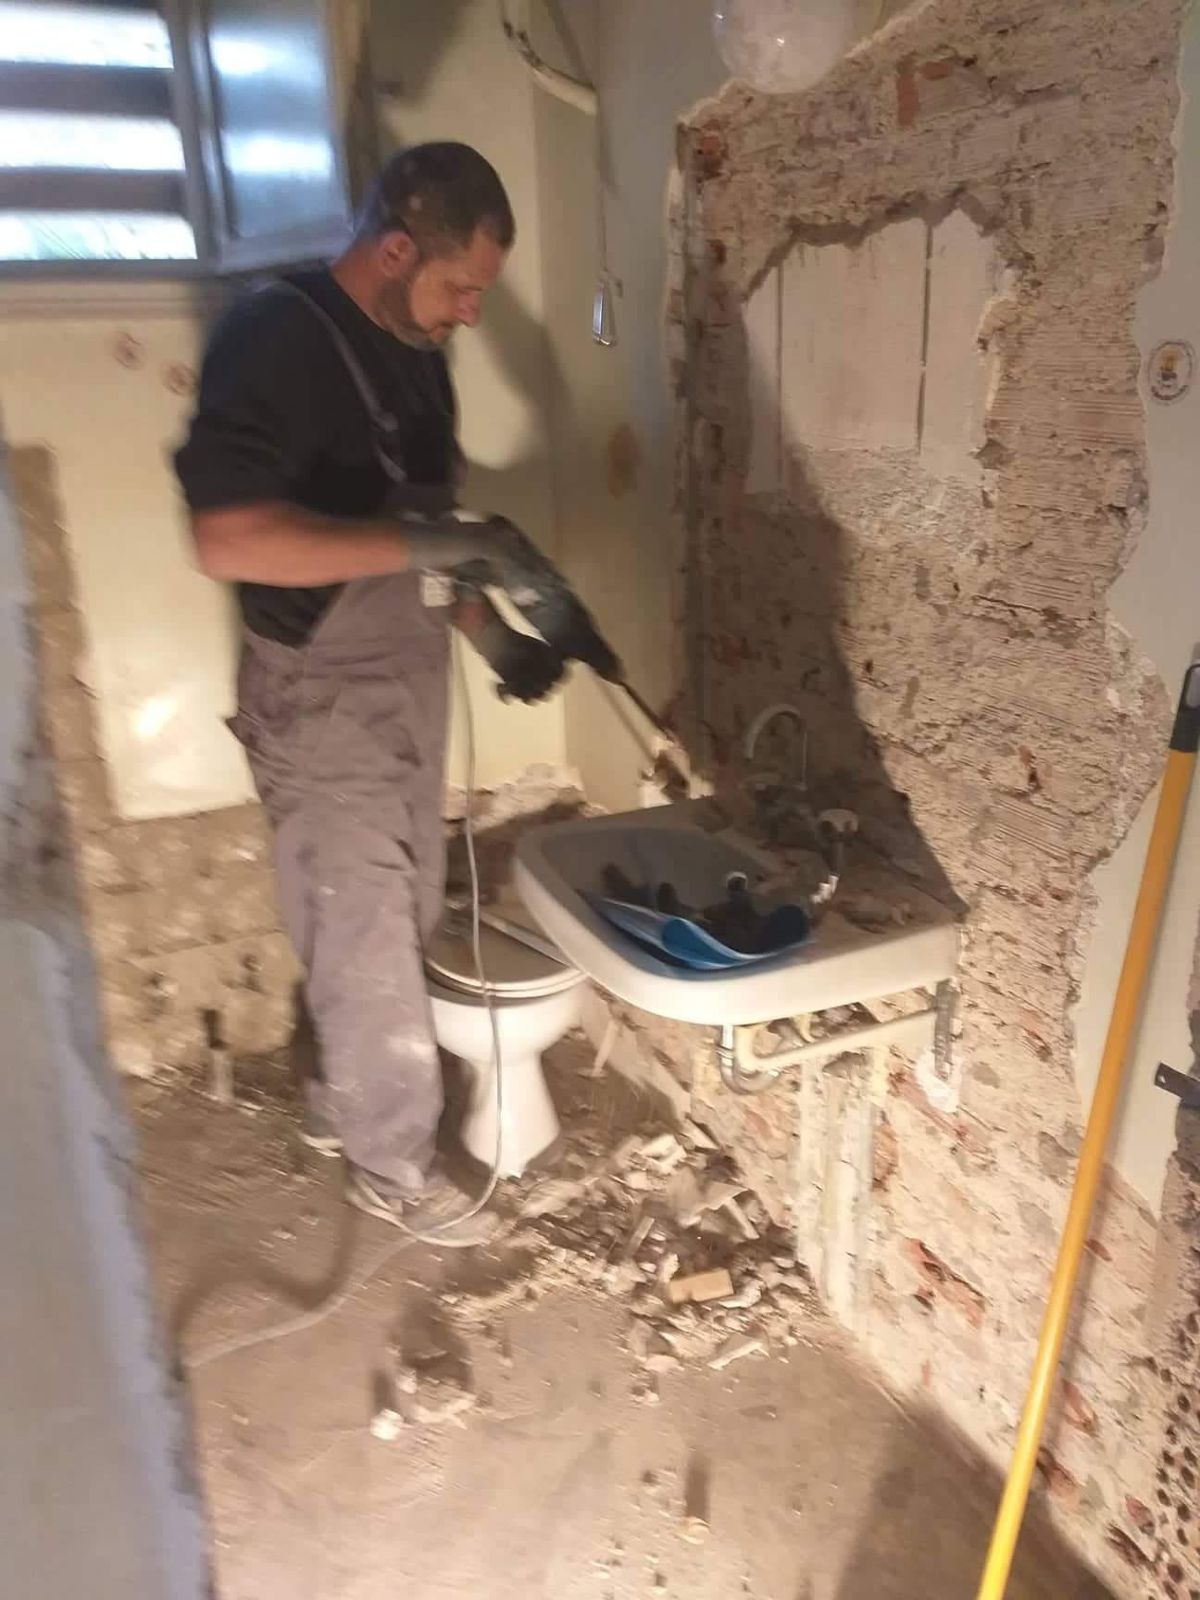
Tiles, basin and toilet come out, and the walls are taken back to the brick.
3. New pipework
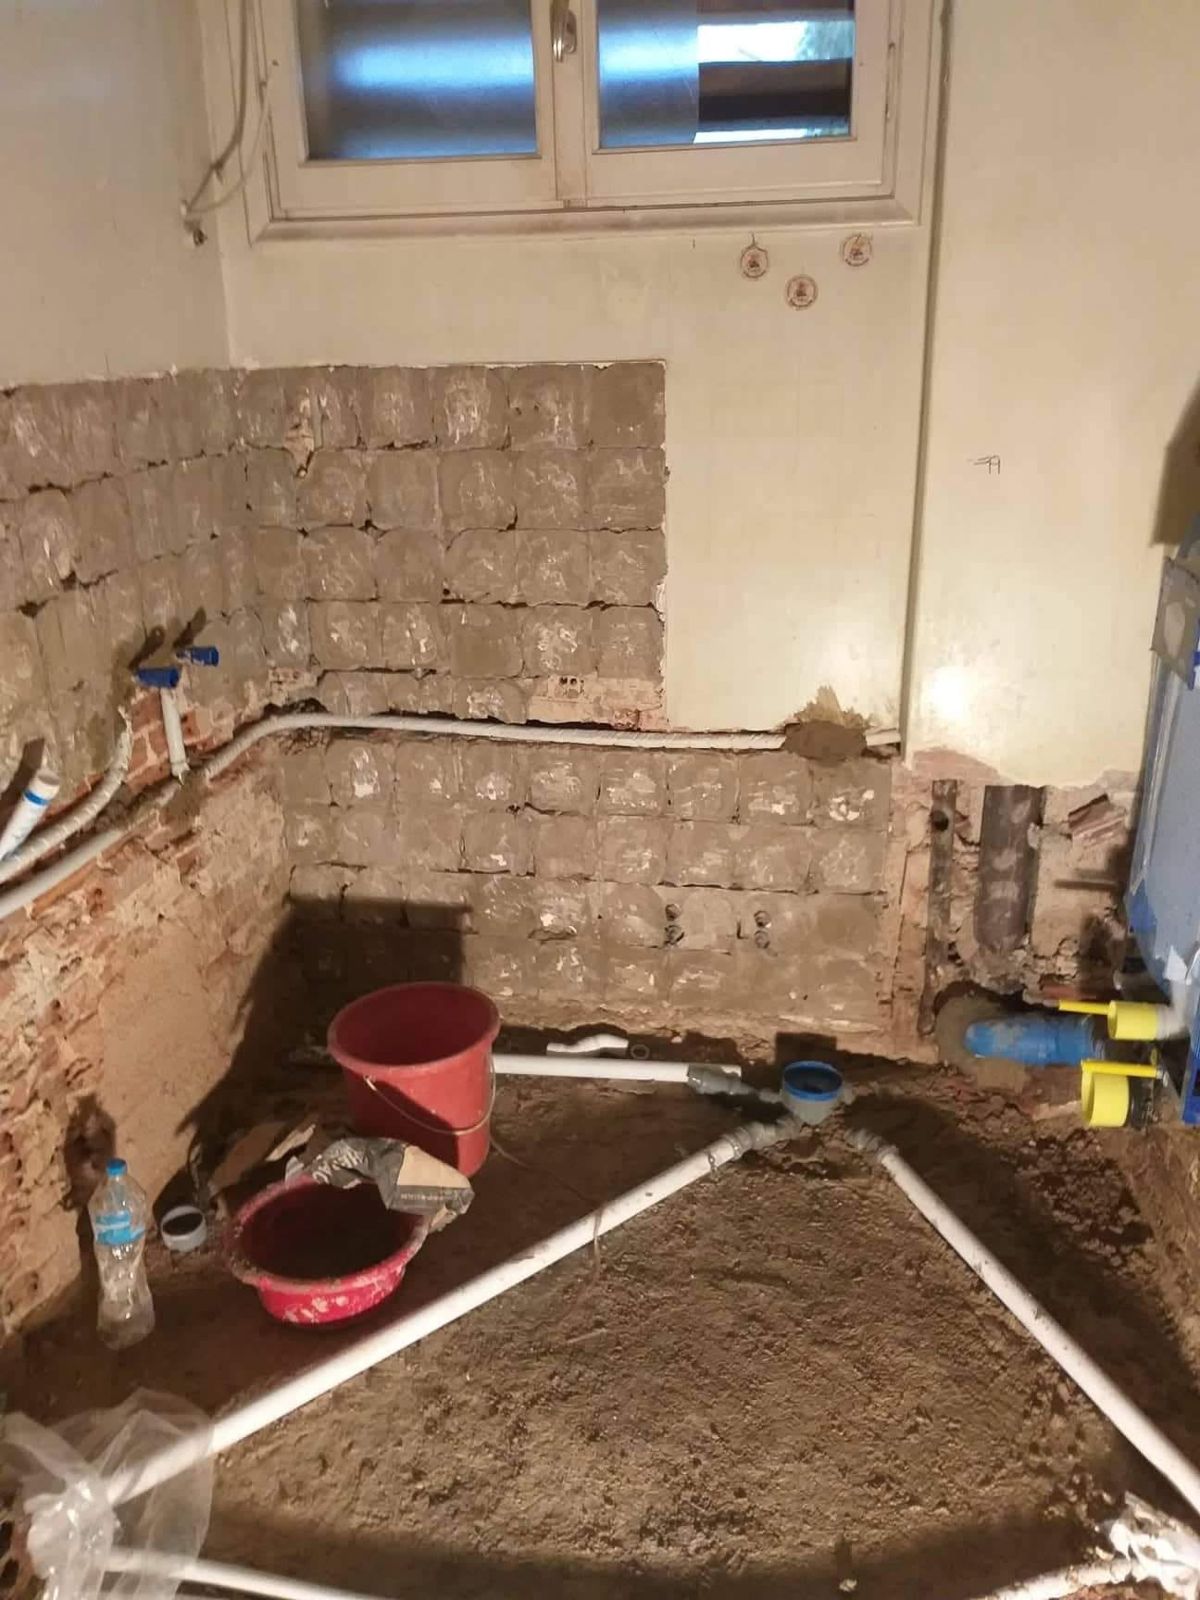
The water pipes are replaced. The new pipes run through the floor and walls before they are closed up.
4. Built-in cistern
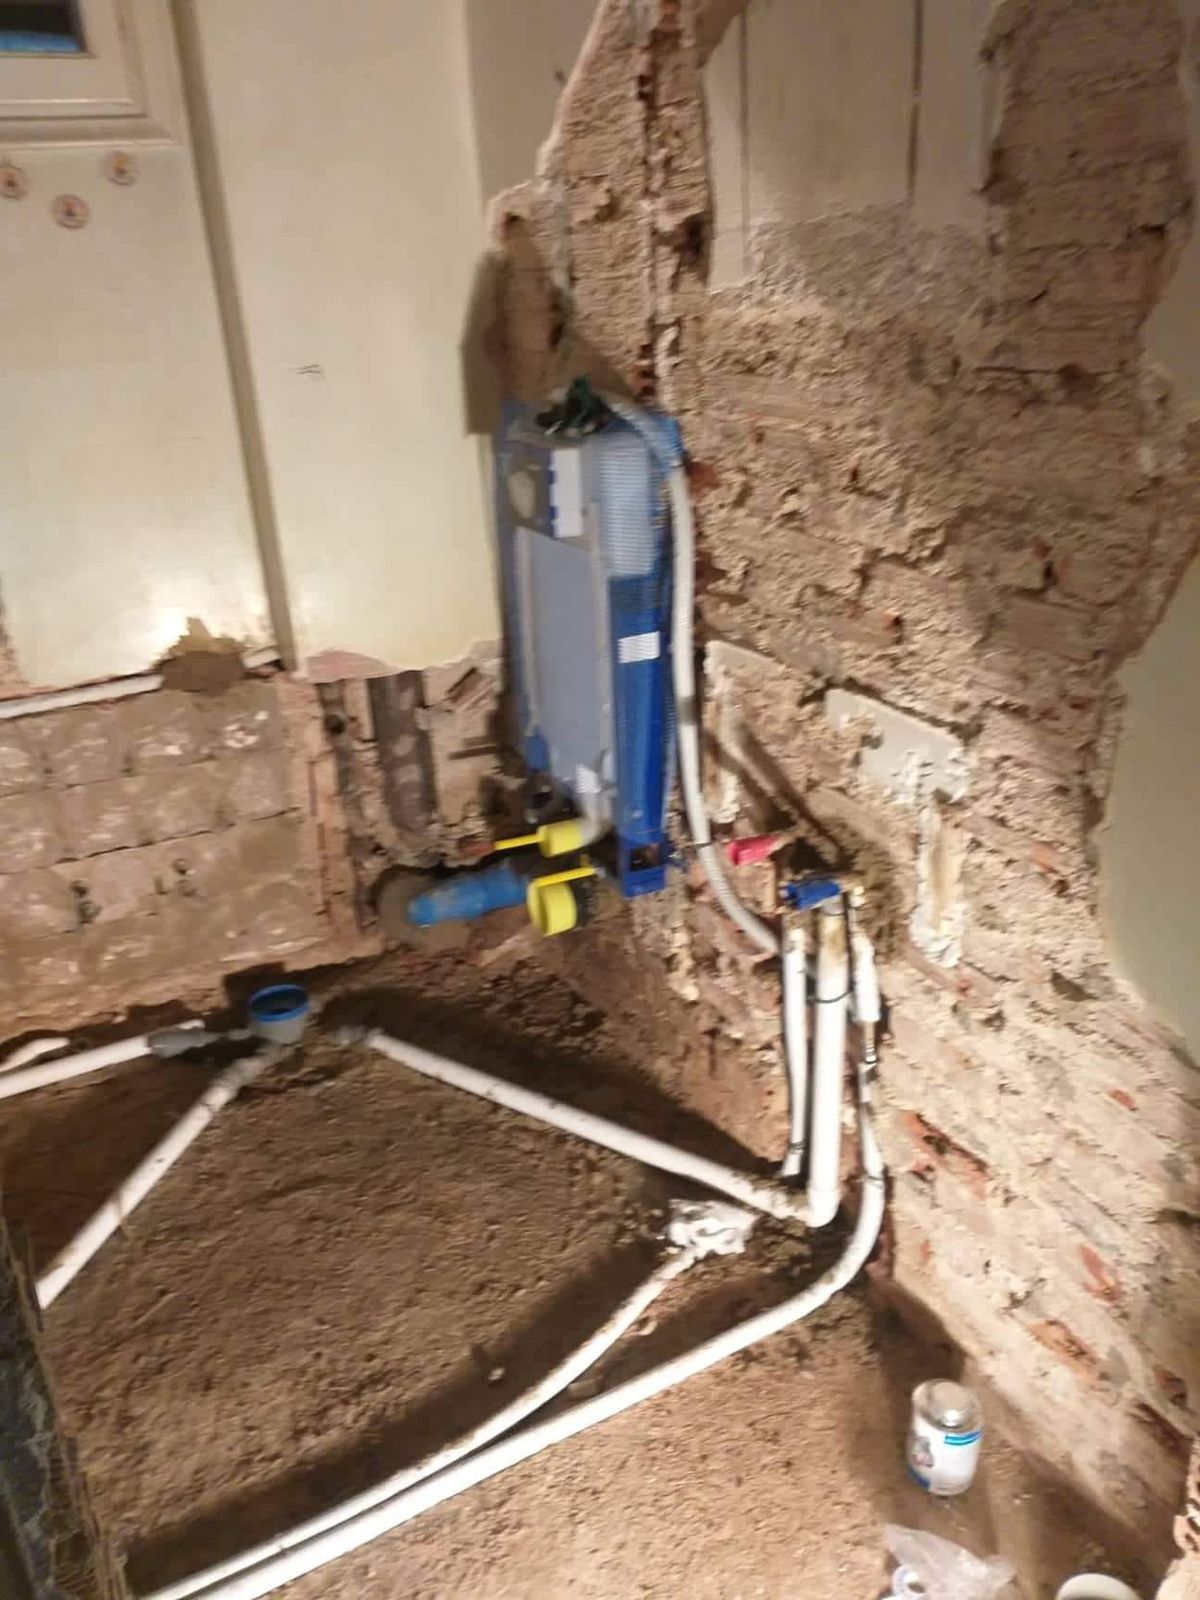
The cistern goes inside the wall. That saves space and makes the bathroom look tidier.
5. Rendering the walls
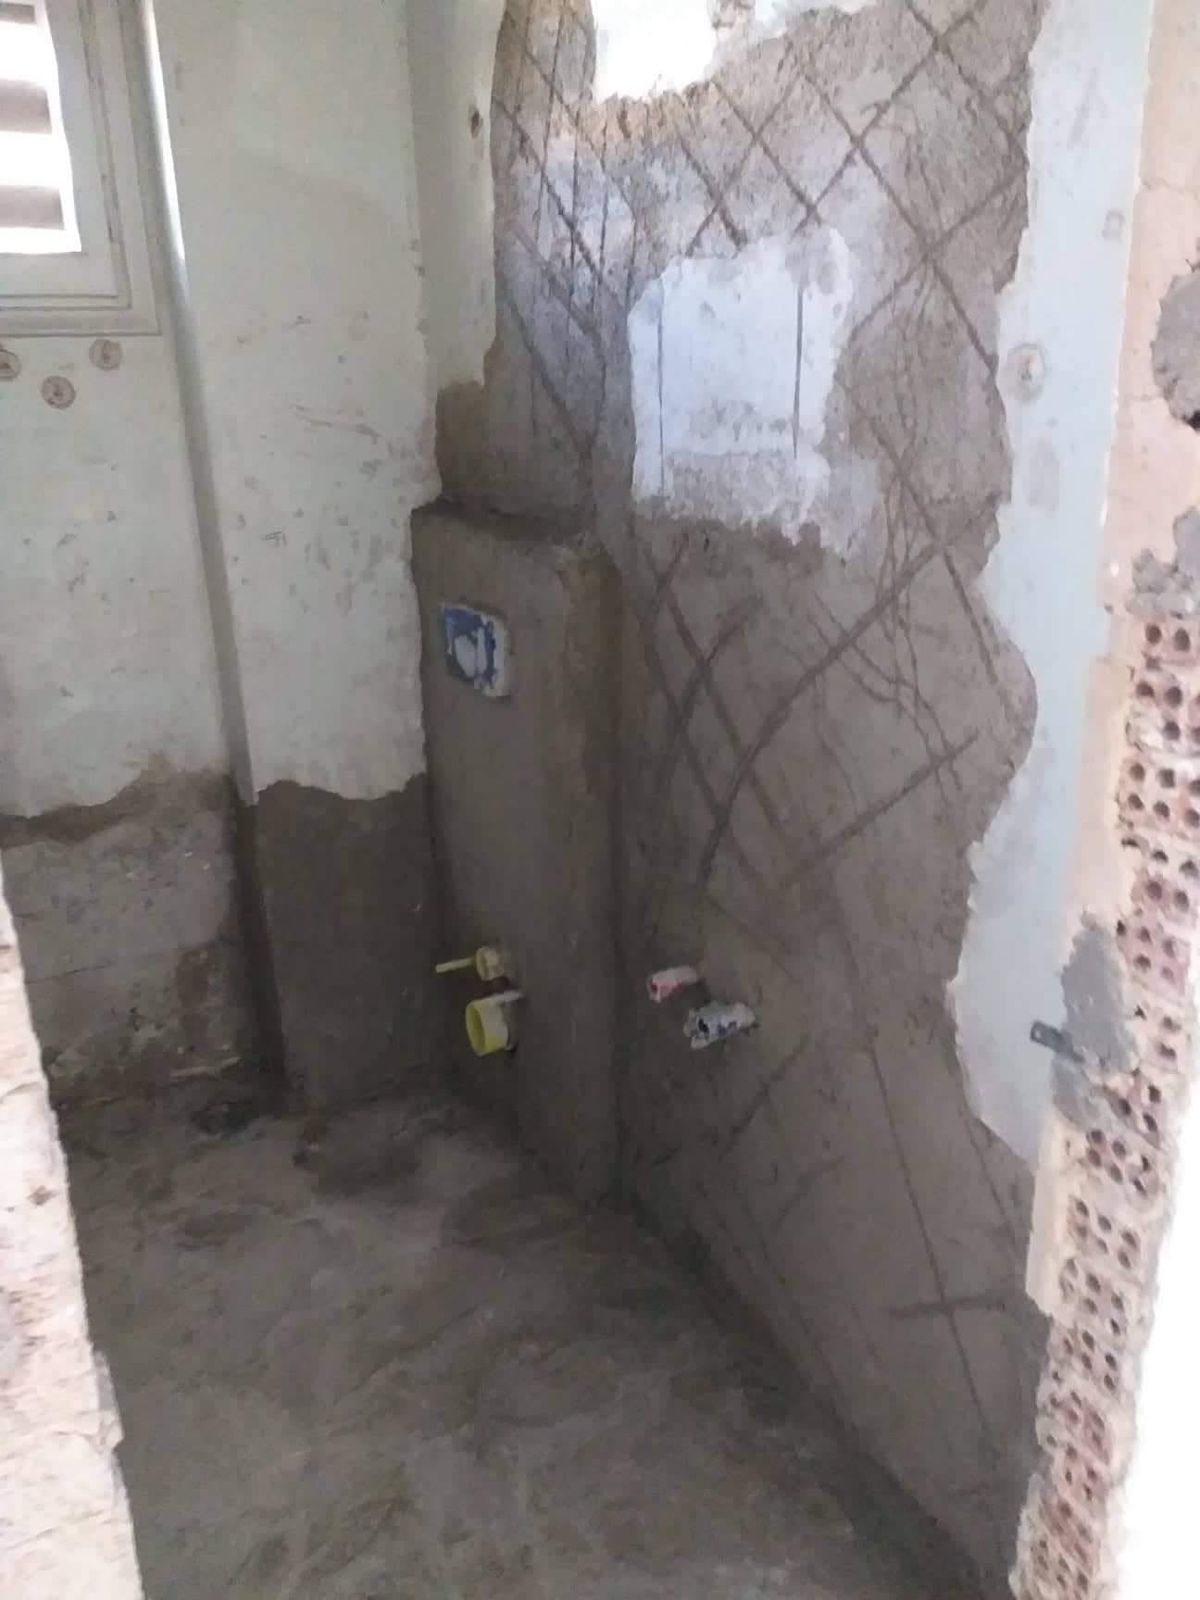
The walls are rendered again and the surface is scored so the tile adhesive grips well.
6. The ceiling
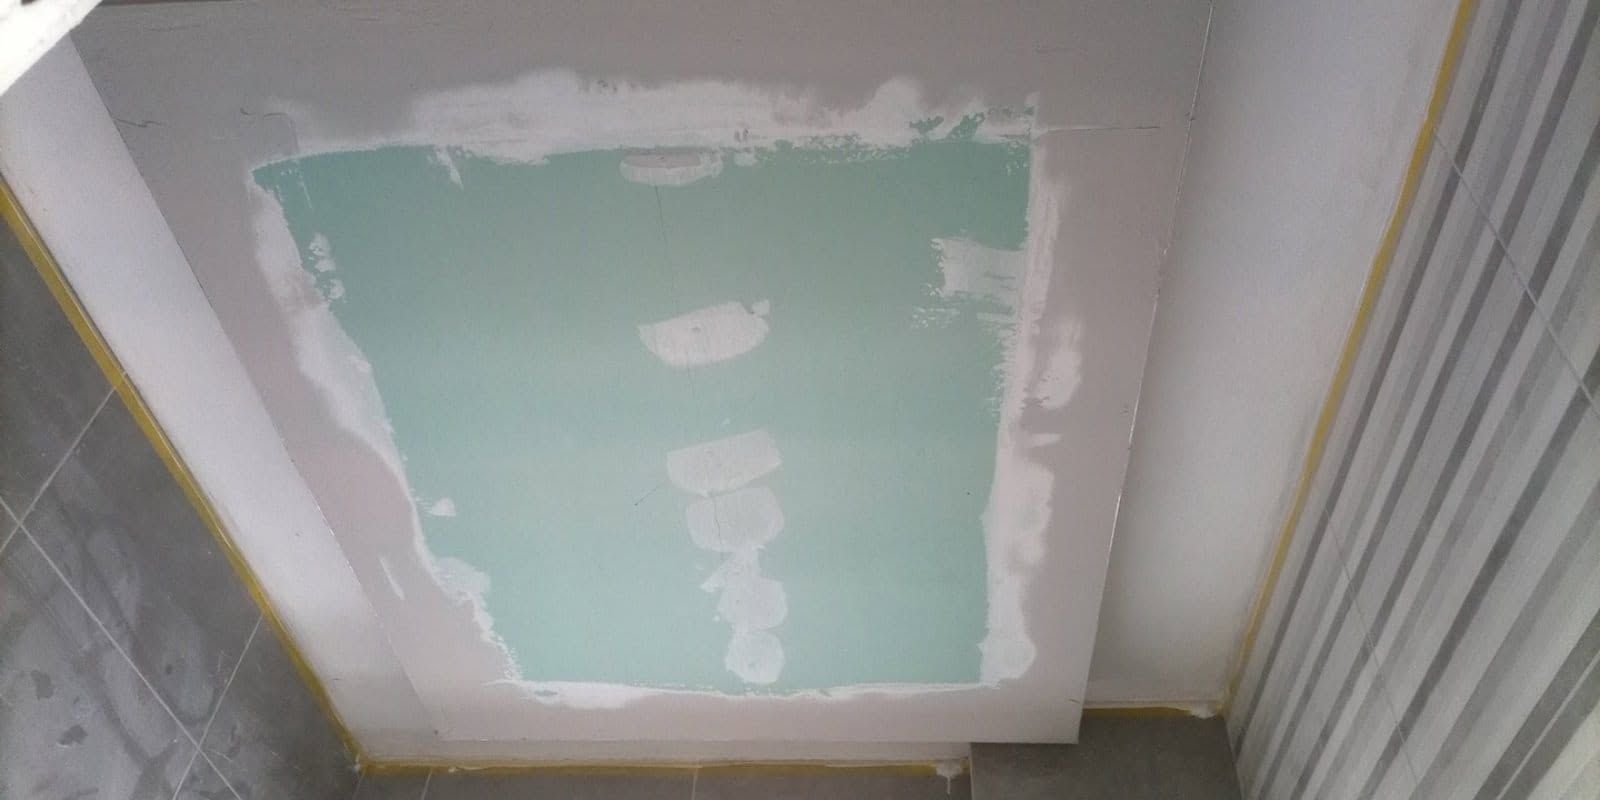
The ceiling is closed in with plasterboard, which later takes recessed lights.
7. Tiling
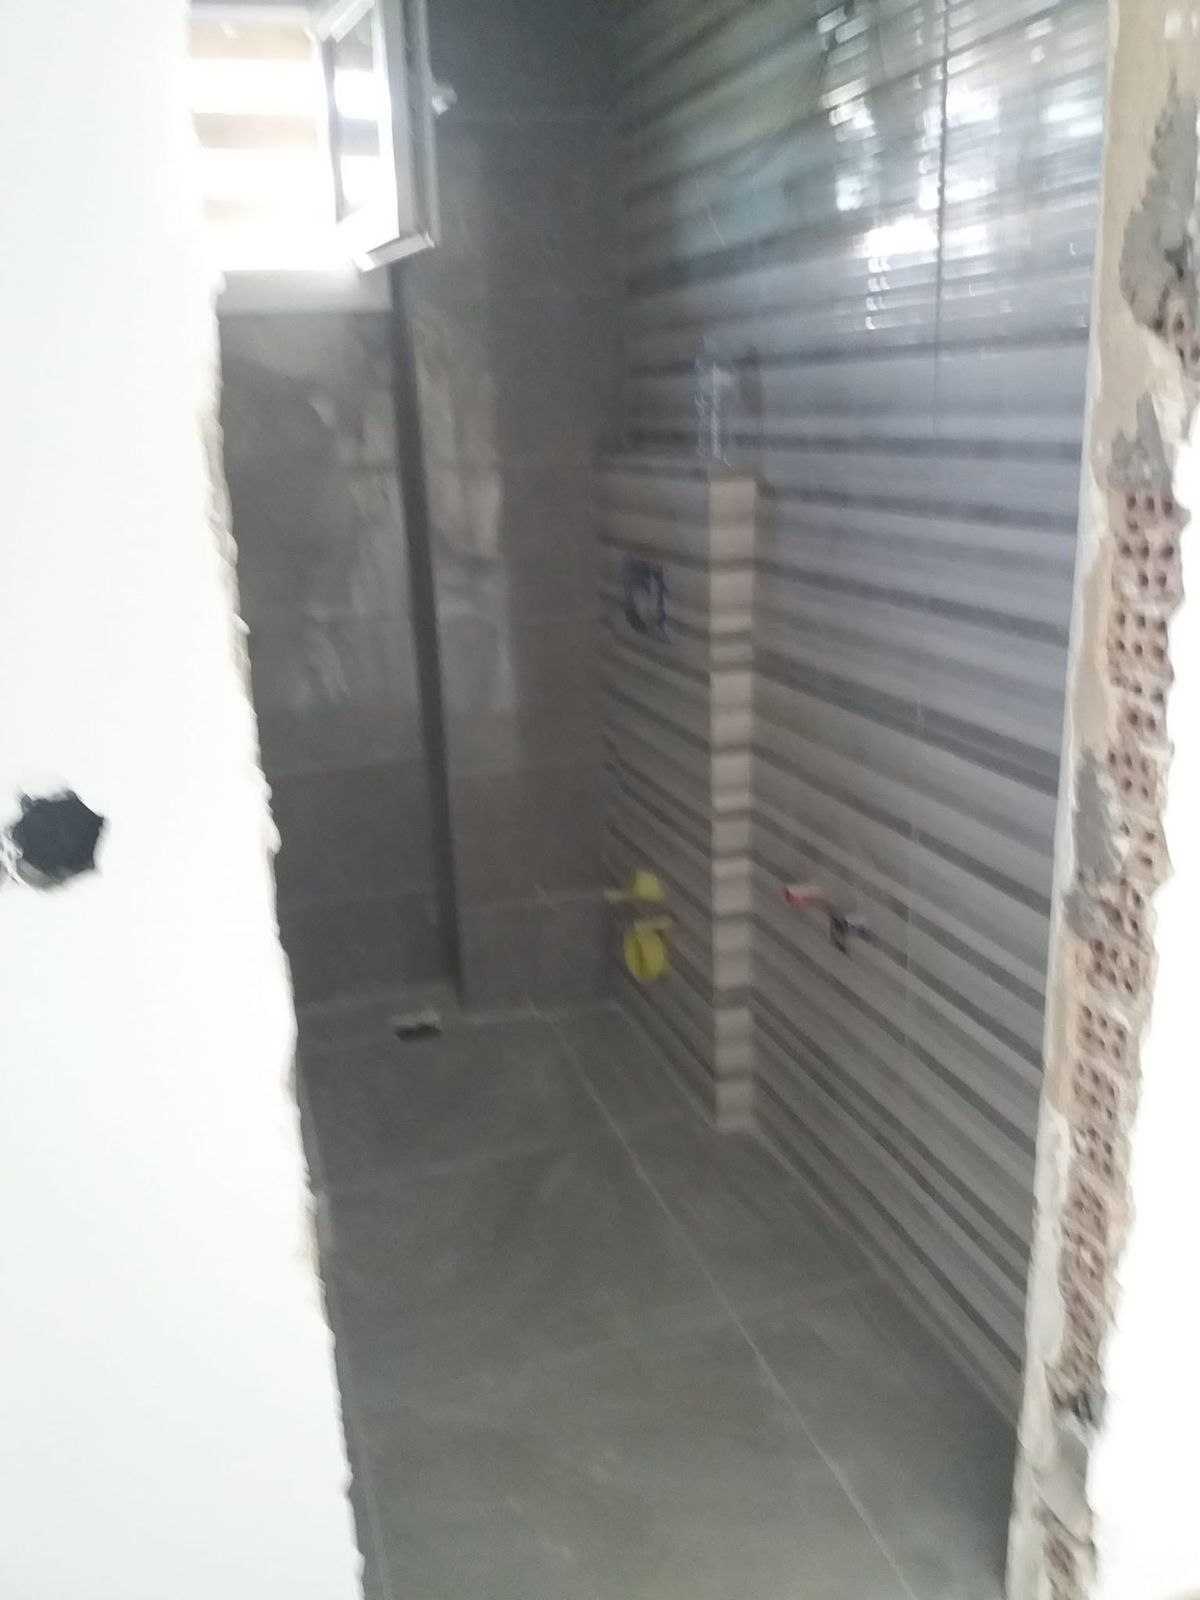
The striped tiles are laid carefully so the lines stay straight from wall to wall.
8. The result
A bright, modern bathroom with new tiles and a basin with a cabinet underneath.